
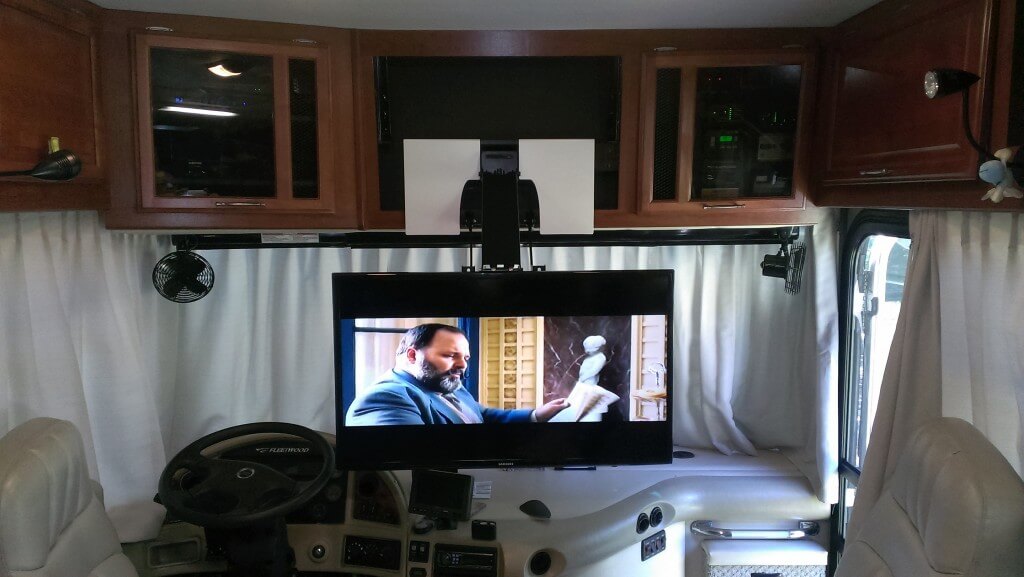
The best and ideal adventure machines are recreational vehicles, offering a mobile station with all the basic features of a home. It allows people to explore the wilderness or travel the cross- country. Most RV owners would want to mount their TV on the walls of the vehicle ma, king it easier for them to watch.
One can easily save space by fixing their TV on an RV mount wall. It does give it a cleaner look and makes the TV more secure. Well, it does become a bit of a challenge or somewhat confusing as to how to attach a TV mount to an RV wall. It is a simple and straightforward process despite needing a bit of planning and forethought.
Things Needed for an RV TV Mount
A TV mount has everything you want or need to attach your TV to a wall or ceiling in your RV. Based on the brand and kind of mount you choose can be found in a TV mounting kit, which in the following uses
- A wall brackets
- A TV mounting plate
- Screws
- Wall anchors
Types of RV TV Mounts
RV TV mounts come in a range of configurations and benefits. What you need in a mount is highly dependent on the kind of RV mount you want.
Fixed Mount
One of the simplest fixed mounts as it enables a low profile to avoid sticking out of the wall. It gives a simple look without any tilt, swivel, or arm, enabling positional changes. They are easy to install and don’t really have any additional parts or hardware.
Tilt Mount
Despite being like fixed mounts, Tilt mounts can tilt your monitor up or down. It can create an optimal viewing angle and delete glare. It simply means that your TV will stick out from your wall a little more, but it is worth it.
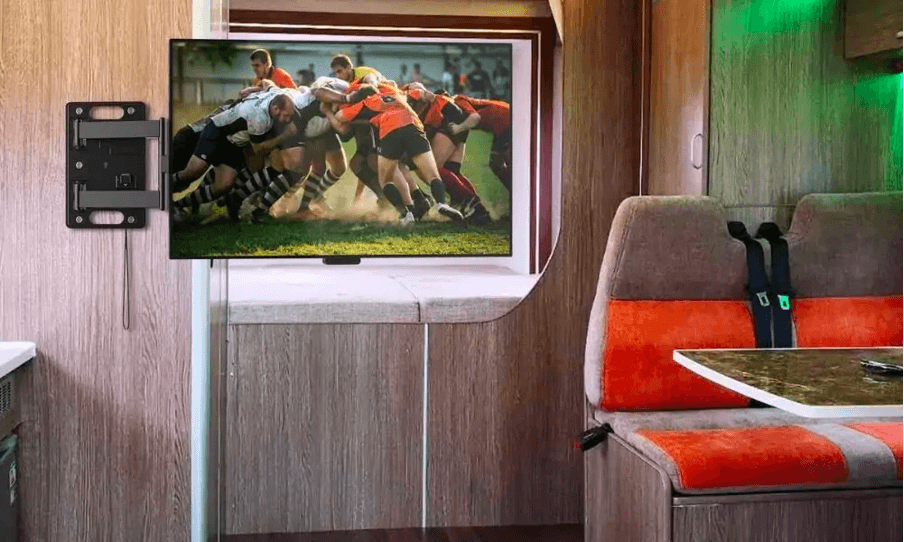
Articulating Mount
Articulating mount is one of the most popular kinds of mounts known for its arm that pulls the TV away from the wall, enabling the TV to move from side to side. These mounts have some upward tilt which is on some level compared to simple tilt mounts.
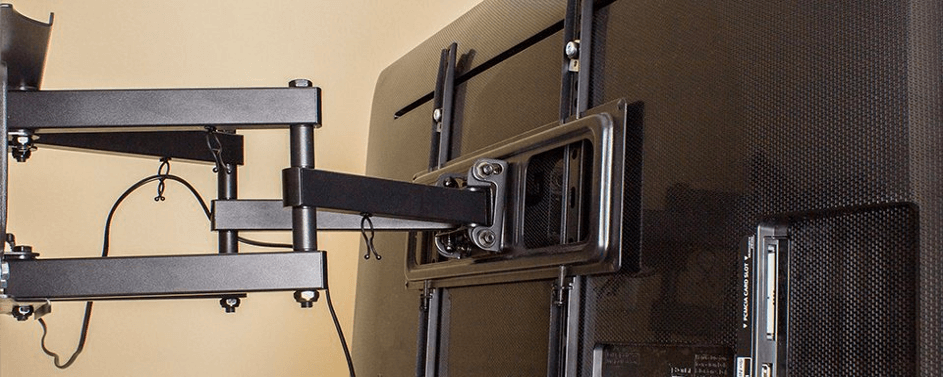
Full-Motion Mount
Full motion mounts, an evolution of the articulating mount, offer complete control of how you want to position and place your TV. The mounts do need restraint as they don’t sit flush with the RV mall.
Ways of Mounting a TV in an RV
The kit has everything one needs for installing, like:
- A drill
- Screwdriver
- Tape measure
- Painter’s rape
- Stud finder
- Pencil or marker
You could face a few challenges while installing the mount depending on the brand and type you buy. Look for a stud in the walls using a stud finder and mount your TV.
Most RVs should have a good two-inch wide stud that spans from the ceiling to the top of the window. The stud naturally provides a sturdy, load-bearing point that can take the mount and TV’s combined weight. Mark the edges and centre of the stud using your painter’s tape.
From there, measure out the height of the wall bracket and mark where you plan to drill the pilot holes for the screws. Hold your wall mount bracket against the wall and use a level to ensure everything is even. It never hurts to measure correctly and adjust as necessary. You don’t want a crooked or lopsided TV.
With the holes marked and adequately levelled, drill the pilot holes into the stud. Pilot holes make it easier to push in the screws. Make sure that the pilot holes are slightly smaller than the screws themselves. Use a spacer on your drill bit or mark the screw length on your drill bit with painter’s tape so that you don’t drill entirely through your RV wall.
Secure the bracket to the mounting wall using the provided screws. You want the screws to be secure without over-tightening them. Going too hard could strip the screws or strip the hole, leading to more severe problems.
With the bracket in place, you can now turn to the mounting plate for your TV. Follow the manufacturer’s instructions to get the mounting plate secured to the TV’s back.
From there, it’s merely a matter of connecting the wall bracket to the mounting plate. Again, follow the manufacturer’s instructions, double-checking to ensure the plate and bracket connection is as secure as possible.