
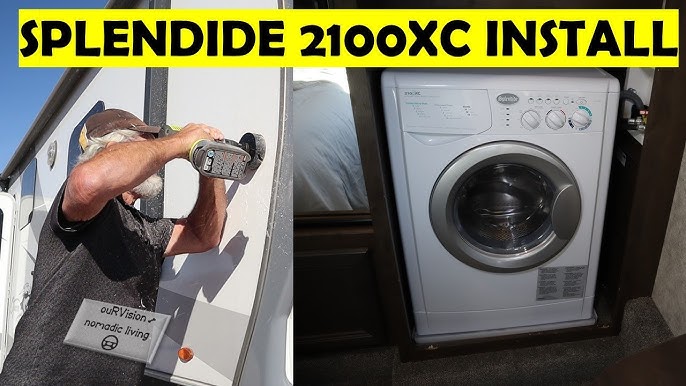
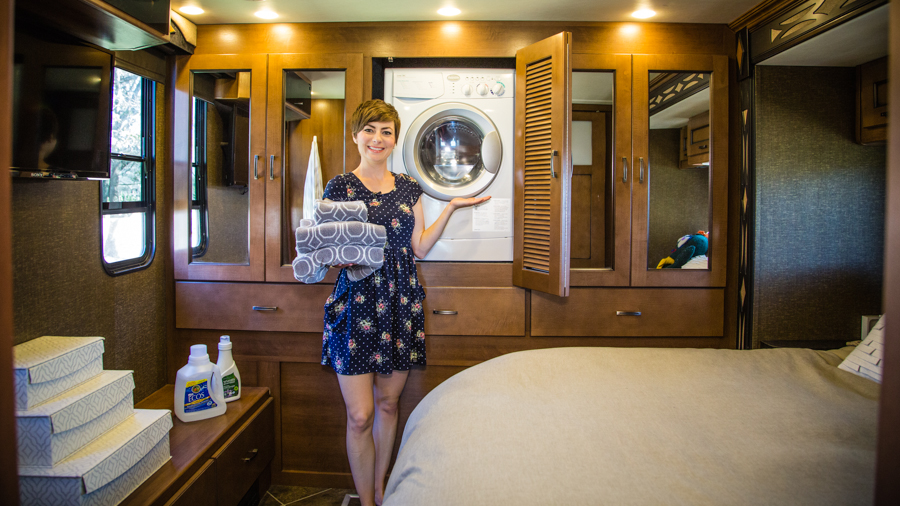
While switching your lifestyle from normal life to a more adventurous RV lifestyle, you have to think about all the hurdles of life that you will have to face; the main issue is water drainage. However, adding a washer and dryer to your RV can make life on the road much more convenient and comfortable. This means you don’t have to wait in line to wash your clothes in the nearby laundry.
However, before you start throwing your dirty laundry into your RV, you’ll need to know how to plumb it for a washer and dryer properly. Don’t worry; we have got your back. We have mentioned all the necessary steps as well as tools that you will need to plumb the washer for the RV.
So, tune in to know everything in detail and enjoy the benefits of clean clothes while traveling.
Material Required to Plumb RV for Washer/Dryer
It is very necessary to make a list of tools and materials while working on a project. Thus, below is a list of all the useful materials.
- Washer and dryer combo or stackable unit designed for RV use.
- Appropriate plumbing fixtures and hoses.
- Screwdrivers and wrenches.
- Level.
- Measuring tape.
- Pencil.
- PVC pipe and fittings.
- Pipe cutter.
- PEX tubing and fittings.
- Plumber’s tape and sealant.
Steps to Plumb RV for Washer and Dryer
This process requires patience and tactics. Thus, we have mentioned a step-by-step process that you can follow to plumb your RV for a washer and Dryer.
Step 1: Choose the Location

Start by selecting the ideal location for your washer and dryer. It should be close to your water supply and sewage hookup, typically in the bathroom or a closet. Ensure that the floor is level and can support the weight of the appliances.
Step 2: Plan Your Plumbing
Determine the type of plumbing setup you’ll need. Most RVs use PEX tubing for water supply and PVC for drain pipes. Measure and plan the routing of your plumbing, ensuring that it’s easily accessible for maintenance.
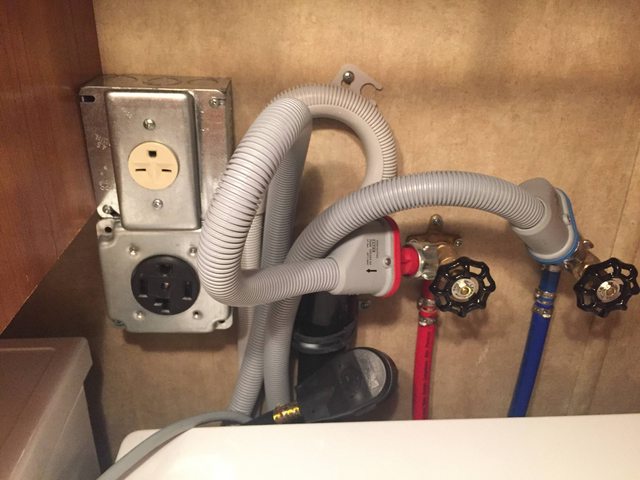
Step 3: Water Supply
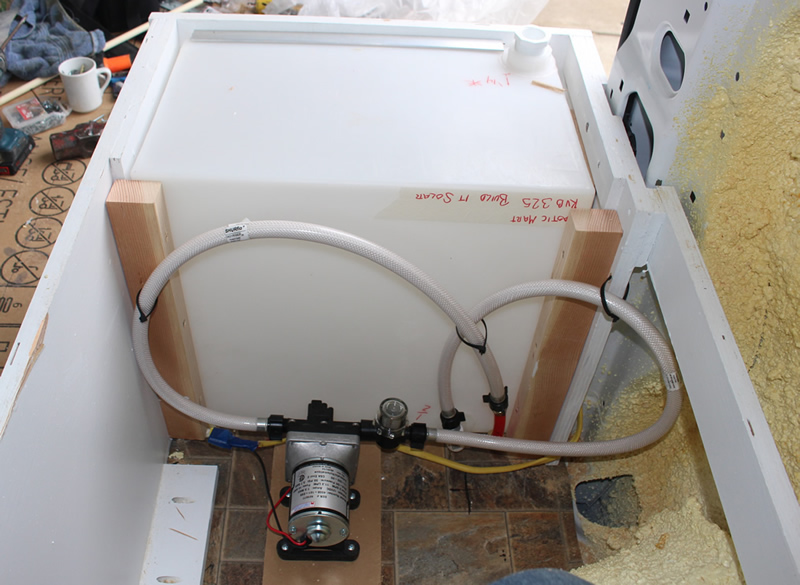
- Shut off the RV’s water supply.
- Locate the nearest cold water source. This is often under the bathroom sink or in a nearby cabinet.
- Install a T-fitting onto the cold water line, ensuring it’s compatible with PEX tubing.
- Connect PEX tubing from the T-fitting to the washer’s water inlet valve.
- Secure all connections with PEX fittings and crimp rings.
- Turn on the water supply to check for leaks. Tighten connections if necessary.
Step 4: Drainage
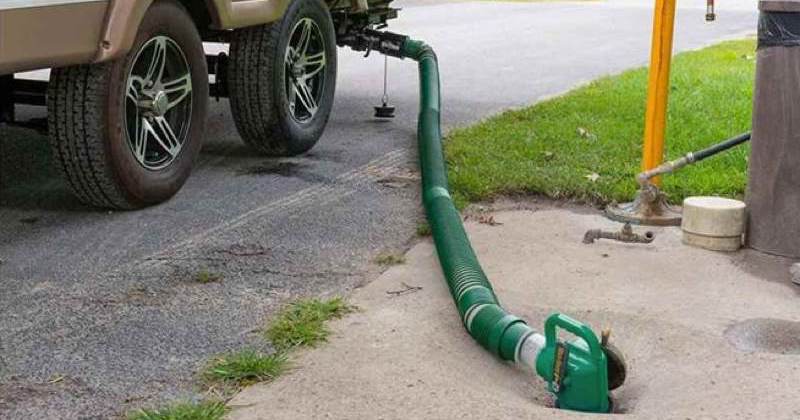
- Identify the nearest existing RV drainpipe. It’s usually under the sink or in the bathroom.
- Install a Y-fitting onto the existing drainpipe, ensuring it’s compatible with PVC pipe.
- Connect the PVC pipe from the Y-fitting to the washer’s drain outlet.
- Use PVC cement to secure all PVC connections.
- Ensure that the drain hose has a loop that sits higher than the drain pipe. This prevents water from flowing back into the washer.
- Test the drainage by running a short cycle on the washer.
Step 5: Ventilation
Proper ventilation is essential to prevent odors and ensure your washer and dryer operate efficiently.
- Locate a nearby RV vent pipe, often found on the roof or side of the RV.
- Install a vent pipe adapter onto the vent pipe.
- Connect a short section of PVC pipe to the adapter.
- Attach a vent hose from the dryer to the PVC pipe.
- Seal all connections with the plumber’s tape and sealant.
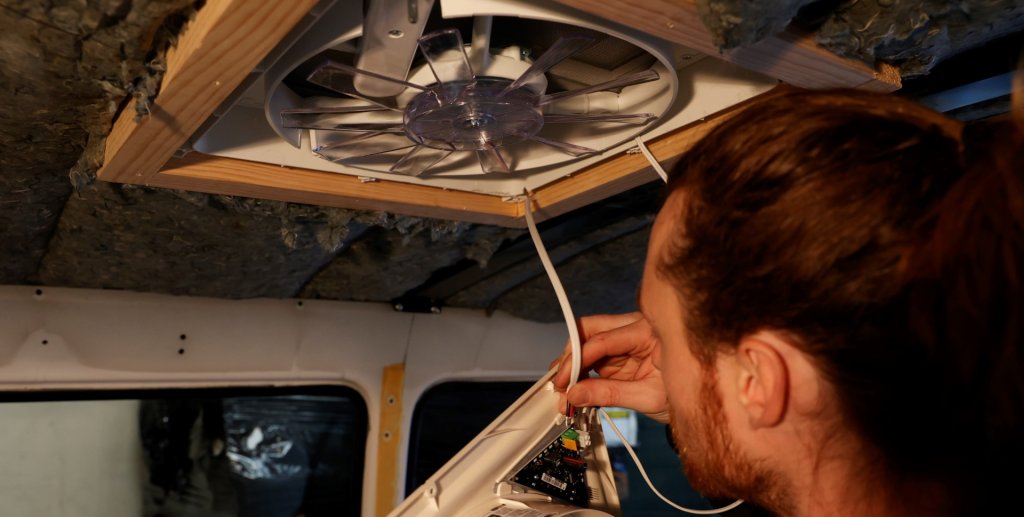
Step 6: Electrical Connection
Ensure your RV’s electrical system can handle the washer and dryer’s power requirements. If necessary, consult an electrician to upgrade your RV’s electrical system.
- Locate a dedicated electrical outlet for the washer and dryer.
- Connect the appliances to the outlet, following the manufacturer’s instructions.
- Make sure the outlet is properly grounded and protected by a circuit breaker.
Step 7: Testing
Before you start doing laundry on the road, run a few test cycles to ensure everything is working correctly. Check for any leaks, unusual noises, or electrical issues.
Conclusion
Adding a washer and Dryer to your RV can help you in many ways while you are traveling. However, if you are reading this, then you might have understood the need for a washer and dryer on your adventurous travel.
We have mentioned all the necessary details, but if you feel like this is a tricky thing to do, then you should consider asking for help from a professional. Remember to follow safety guidelines and manufacturer instructions for your specific appliances.
Once you are settled with the installation, you will feel satisfied. Also, this will give you a more clean space along with clean clothes.
Frequently Asked Questions
Can I Add a Washer/dryer to My RV if It Didn’t Come with One Originally?
Yes, it is possible to add a washer/dryer to your RV, even if it doesn’t come with one. However, it may require some modifications to your RV’s plumbing and electrical systems.
What Type of Washer/Dryer is Suitable for An RV?
Look for compact, ventless washer/dryer combo units designed specifically for RVs. These machines are space-efficient and do not require external venting.
Do I Need a Dedicated Water Supply for The Washer in My RV?
Yes, you will need a dedicated water supply for the washer. Typically, this involves tapping into your RV’s existing freshwater supply.
How Do I Connect the Washer/Dryer to The RV’s Water System?
You must install a separate water supply line with a shutoff valve specifically for the washer. This line is usually connected to the RV’s plumbing system.