

If you are someone who enjoys going on adventures but is a big fan of a simple, cost-effective way of enjoying the outdoors, then hooking up your camper to a well for water sources can help you achieve your goal. It is a perfect solution for your remote campsites and a self-sustained nomadic lifestyle. But you may have a question in your mind: whether it is really feasible or not.
So, it is time for you to move beyond the topics like how to install RV hookups on the property and get some in-depth training on making your hookup pocket-friendly. In this guide, we will explore the considerations, challenges, and steps involved in hooking up a camper to a well, shedding light on the practicality, legality, and potential pitfalls of this water-supply solution for mobile living.
1. Check Local Regulations
Before attempting to connect your camper water supply to a well, you need to check with the area’s local authorities and their regulations regarding the well water source. There may be some specific rules, or you might need any permit that you need to sort out on a priority basis.
2. Well Type
See which type of well you are dealing with. Mainly, there are two types of wells – drilled and dug wells. Drilled wells are deeper and more common, while dug wells are shallower. This is important to figure out because it will affect how you connect your camper with it.
3. Water Quality
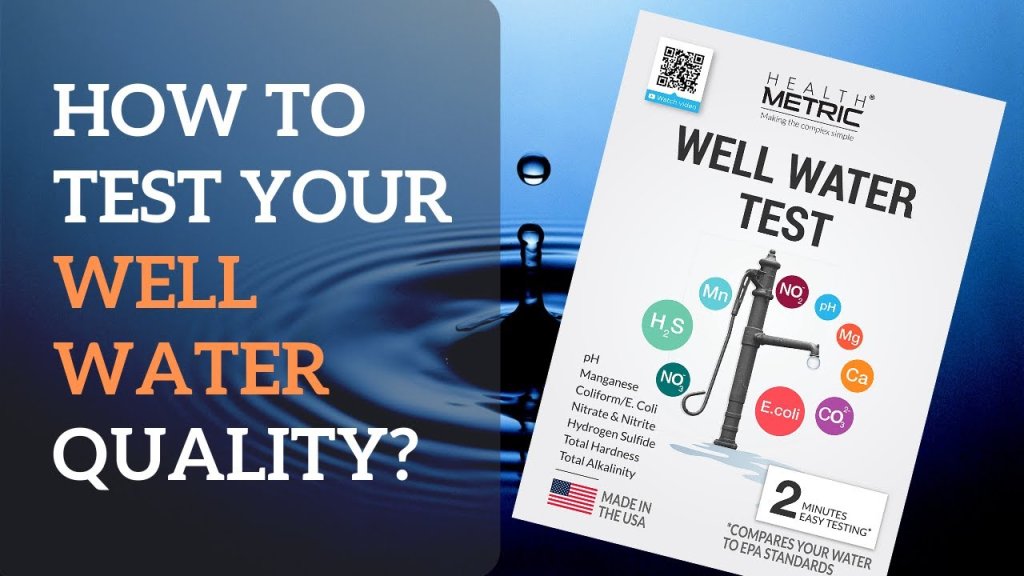
Always test the water quality of the well to ensure that it is safe for consumption and suitable for your needs. Wells can have very highly contaminated water, leading to serious health hazards, so a water quality test is a must before taking any action.
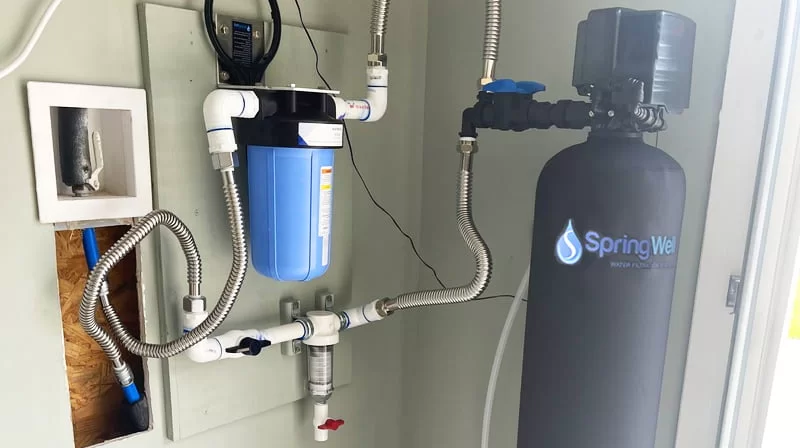
4. Pump and Pressure Tank
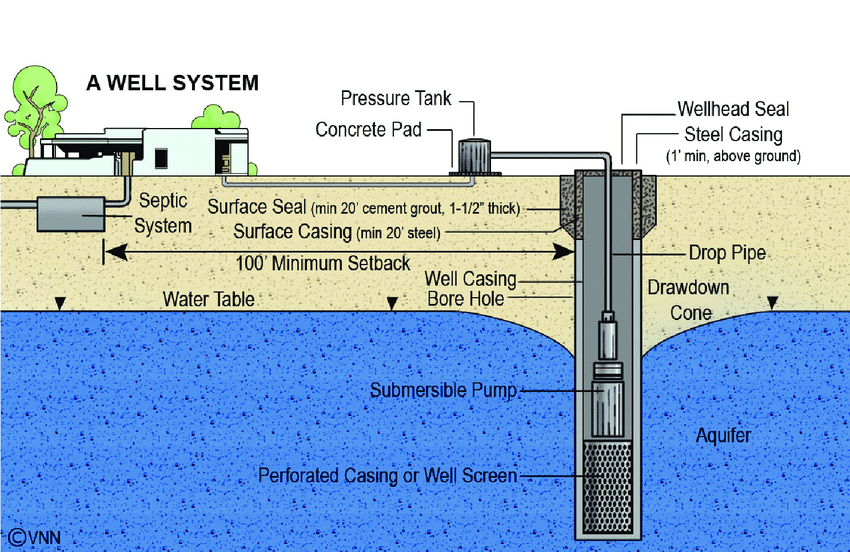
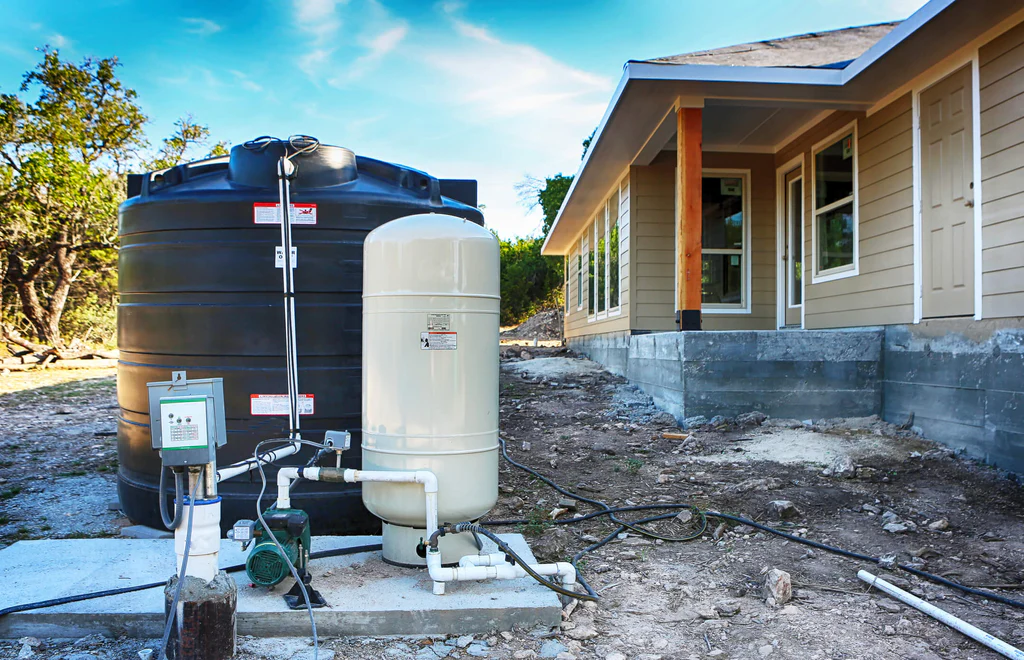
Water in the well needs pressure to get delivered to your camper. Most wells have a pump and pressure tank to maintain water pressure in the plumbing system. If the distance between the camper and the well is more or there is a high height difference, you might need an additional water pump and install it to connect the water supply of the well to the camper. Figure out these requirements beforehand so that you can arrange the required pieces of equipment.
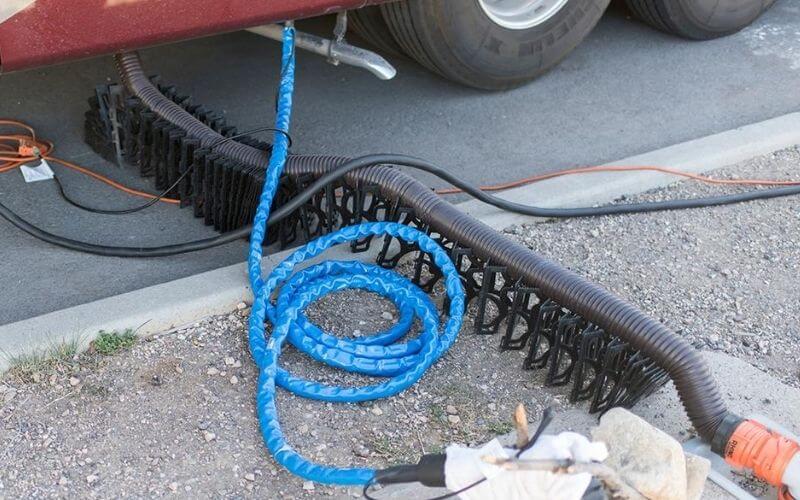
5. Plumbing Connections
After all the arrangements, you can connect the camper with the water supply line. To ensure an added layer of protection for your water resource, you can install a backflow preventer. It will help protect the well from contamination from your used water camper.
6. Filter and Treatment
Sometimes, water may not be fit for cooking or drinking but fine for other tasks like bathing, washing, etc. In these cases, you can install a water filter or treatment apparatus to help remove impurities from water, making it safe to drink. These days, devices like water filters are affordable and compact in design, so you can easily carry them in your camper without them taking up much of your space.
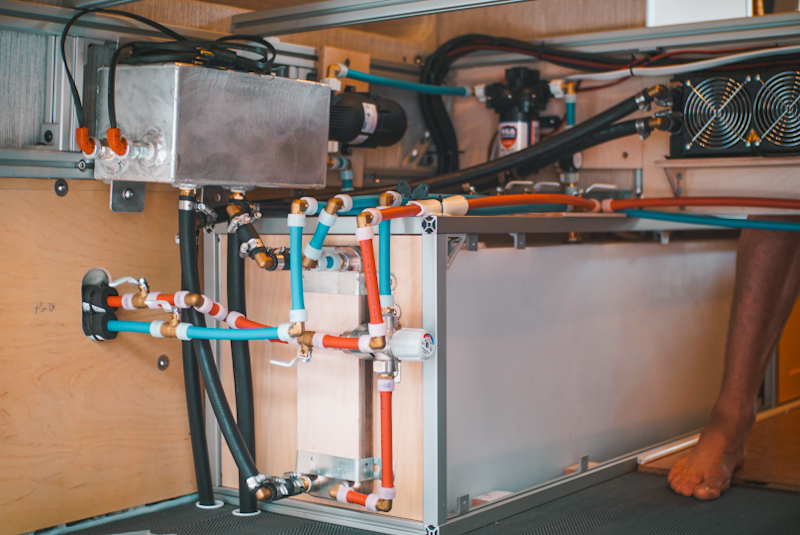
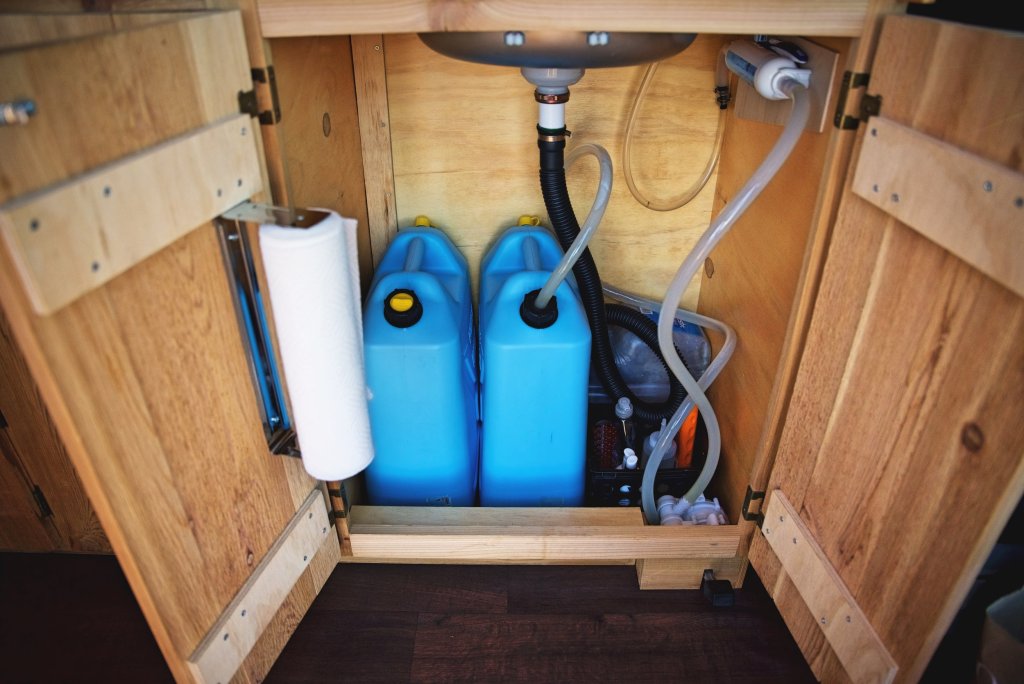
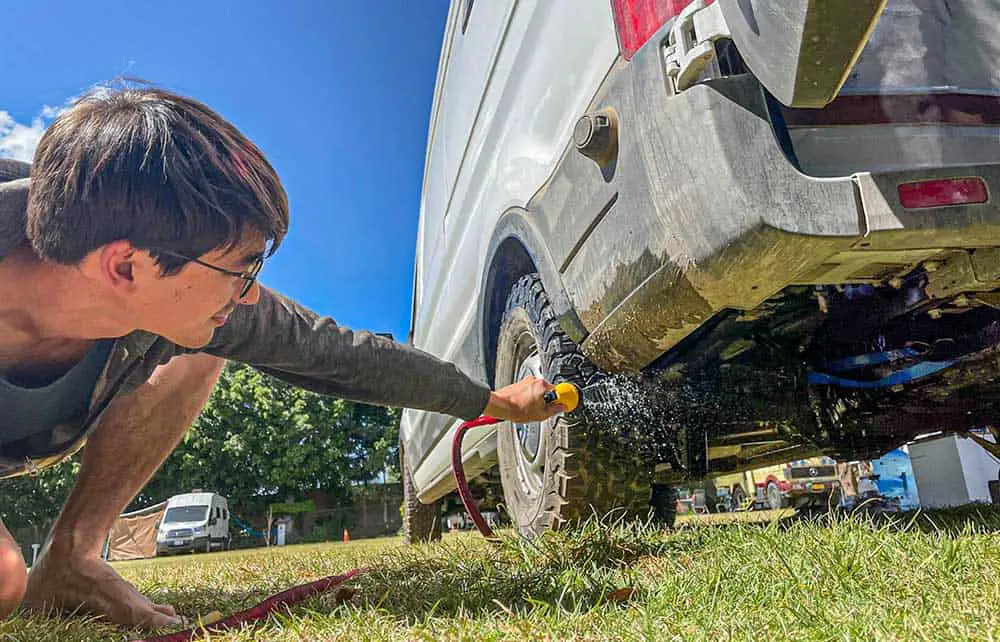
7. Camper Plumbing
Your camper should have its plumbing system, including a separate fresh water tank and waste water tank. The freshwater tank needs to be connected to a well water pump, for which you will need a hose of the appropriate length and diameter.
8. Regulate Pressure
You should also install a pressure regulator as it might save your camper plumbing system if the pressure from the well pump is too aggressive for your camper plumbing potential. Well, pumps have multiple uses, so they need high-pressure motors, which can create a huge mess for you.
9. Winterization
A seasonal problem of winter weather is that it can lead to the freezing of water in pipes quite easily, especially in places where temperatures tend to fall below zero degrees. To travel in these extreme conditions is a wonderful adventure of its own, but it creates a challenge, too. So, for these situations, be prepared by insulating the water pipes and using heat tape or a heated hose.
10. Maintenance
Keeping everything in check and doing regular maintenance will ensure that you avoid big issues that might surface in the future. That’s why look for any leaks or damages in the system and get them repaired as soon as you see them. It will make your experience easier on the pocket and the peace of mind.
Conclusion
Now you know how to make sure that you use natural water resources like wells for your camper and make your trip even closer to nature. These steps can prove to be a great checklist for your next trip as they cover everything from taking permission to installing the system and then keeping an eye out for any problem that may occur.
Once you follow these guidelines, we can assure you that planning and organizing will never feel like a daunting task that you, as an adult, must do. You can kick back, chill, and relax. Enjoy the trip and the break that you deserve with your family and friends.