
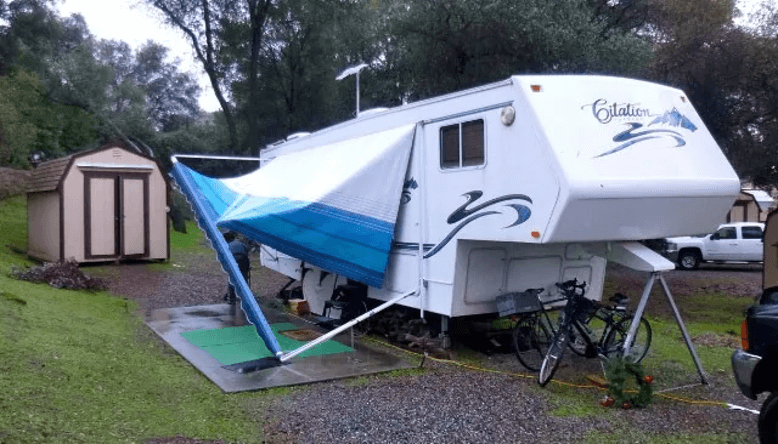
It’s quiet, gentle weather, with light showers with cold winds blowing. The birds are chirping. You pull up to draw out your RV awning and have a good hot coffee under the hood. But, contrarily, a massive cavity in y our awning catches you by surprise. What should you do? Leave it like that? Or get a new one? Well, no need to panic because we have got you covered.
Albert Einstein very well quotes: “If I were given 60 minutes to save the planet, then I’ll spend 59 understanding the problem and the remaining one minute solving the problem.” Similarly, before directly jumping into how to deal with the problem, it’s essential to understand the root cause of the problem.
What are the Reasons for Awning Damage
The current scenario has seen RV awnings’ wear and tear mainly due to poor quality fabric or environmental problems. The primary can be prolonged exposure to the sun’s scorching heat.
Another reason for a ruined awning could be that it is a comfortable place for insects, small animals, or other fungi in the wild. Sometimes, small holes can also lead to considerable problems if not solved or given care at the appropriate time.
The secondary reason for an ill fabric might be exposed to a strong climate. For example, strong wind or heavy rain and snow can damage the awning in your remote house. These small damages, if not taken care of, might cause solid trouble in the future.
Types of Damages Your Awning Might Be Facing:
The damages to your awning are mainly classified into tears and holes. That said, the first strategy to start repairing your awning is to assess your damage. Is it a tiny one? Or is it a big cut right in the middle? If it is a small cut, thank god because your work will be done in a jiffy. But if your awning has a significant tear, then you have to have a hell of a task to do.
Step 1: Assessment
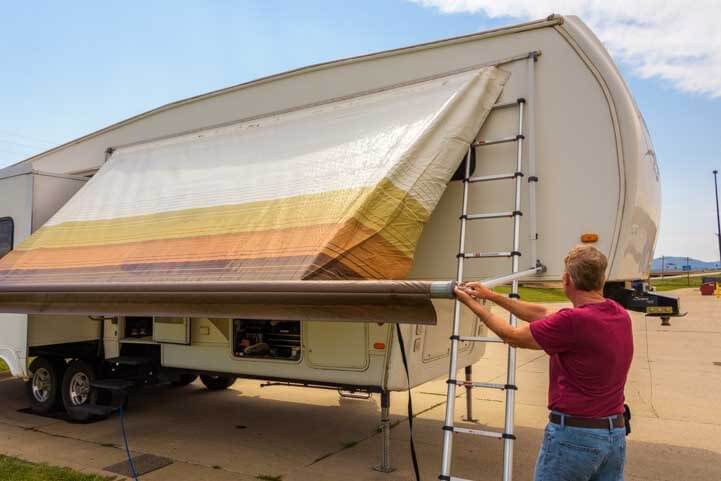
you need to pull out the RV awning. The procedure to do so differs from brand to brand. And hence, referring to the user manual provided is the best way to follow to avoid any more problems.
After removing the awning, have a close look at the fiber. Look for small-scaled punctures and cuts, which go unnoticed, and treat them too, in order to avoid this whole course of action for a few months.
Step 2: Fixing Minor Issues
Fixing the small holes/tears is an easy task. First, clean the awning using a water-based solution. Be gentle. Otherwise, you might increase the hole/tear. Next, remove all the traces of dirt and other settled particles on both sides of the awning. Then, let it dry.
One can use some fabrics for this purpose. Then, grab the awning tape from your kit and stick the two pieces together using repair tape. Do this on both sides of the awning while ensuring no air bubbles are in the taped area. Having this done, you are good to go with your trip!
Step 3: Up to the main part
You are now coming to the difficult part. After bringing down the awning, measure the length and width of your cavity/hole. If your RV awning has a big split or hole (a tear is classified as a big one if it crosses 3 feet), then you need to attach a fiber patch to the particular area. Next, add 3 inches to the measurements and cut a path of that size.
One needs to note that if the patch is oversized, it’ll be visible; if it is undersized, it’ll be difficult to glue/stitch the patch. So the next procedure is to clean the concerned area and either stitch the fiber into the awning or glue it using the repair tape. If you stitch the fiber, then make sure there are no loose strands or stitches.
While stitching, see that you stitch it on the inner side of the awning so that it does not look weird. Similarly, if you decide to glue the awning, ensure it is completely dry before putting it on again.
Step 4: Reinstalling the Awning!
Following the instructions mentioned above, you can now put the awning back in place again. One can follow the user manuals again for this purpose.
During the whole repair process, one needs not to hurry up. If hurried and the awning is not dry, then there are chances that the insects might breed there.
Similarly, hurrying up while cutting and measuring the fabrics might lead to wrong measurements.
Prevention Measures
In order to prevent frequent incidents of RV awnings from getting ruined, one needs to take good care of the awning. Starting with, one should ensure that the awning is dry when not used. A wet awning is like a call for the organisms to come and breed.
The next important thing is to fold the awning in case of severe or strong weather. Remember, your awning is made to provide shade from light showers. So if you start using it during hurricanes and thunderstorms, you must be ready to spend more on the awnings.
Keep Yourself Prepared
Since an accident like this cannot be predicted, it is always advised to have a few valuable tools in your RV while traveling. It includes repair tapes, water-based cleaning agents, screwdrivers, and measuring tapes. One should also carry some extra fabric in order to deal with large punctures and tears.
Some essential tools required for repairing of RV awning

In a nutshell, one should often take a look at the awning installed in their RVs and check for any wear and tear. Then, of course, one should try to deal with them at an initial stage, or else dealing with significant cuts requires quite a much effort.
But, again, one should remember that RV awnings are not meant to last for a lifetime. Hence, replacing the awning after good use is also advisable.