
Short buses can be converted into incredibly comfortable RVs, which are durable, and compact RVs. The short bus conversion makes for a fun project by the end of which you are left with an RV that is designed entirely according to your needs. With a short bus, you can do away with everything that you don’t like or want and keep only what you need.
If you are considering doing it yourself, having a well-rounded idea of what you need comes in handy. The short bus conversion process starts with demolition and moves onto slightly more complicated matters such as electrical and plumbing. It also helps to get the cleaning and repairing out of the way before you can dive into remodeling your short bus’s interior to make the most comfortable RV home.
Here are the steps you can follow for your short bus conversion into an RV home.
Start with Demolition
The first step of the short bus conversion into an RV is, of course, demolition. The bus is fitted with aligned rows of seats which will obviously be of no use to you. You must carefully detach each row of seats, starting from the front of the bus to the end.
The second part of the demolition process is to check the floors, ceiling, and walls for rust or signs of damage. If you do find any signs of damage, get it fixed immediately. If you don’t, carefully remove the existing flooring and frames so that you can design and use the space as you like.
The third part of the demolition process is a garbage disposal. If you are at that point in your short bus conversion where everything old and unnecessary has been stripped off your bus, then you will probably find those things sitting in a pile outside your bus. The next step is to arrange for the proper disposal of these things. This is the only part that costs money for people who take up the demolition process themselves.
Cleaning and Prepping
The first thing you should do after taking apart your short bus is given it a thorough cleaning. Clean the floor of the bus. Remove dirt and grime from the nooks and crevices. Check for rust and remove it using a tough spatula. Next, fill the gaps and cracks and paint the floor. After you are done with your floor, seal up and smoothen your walls and windows. Finally, check your ceiling for cracks and dents.
Engine Repair
Make sure to check the engine of your bus before you buy it. The lesser the number of repairs to be made, the better. However, if you feel that the required repairs are doable, then go ahead and buy the bus.
Make sure every part of your engine is in working condition. Replace everything that needs replacing. You don’t want to get stuck on the road because of a busted engine. Check the transmission fluids and fuel filters and replace the oil.
Electrical System
The next step to your short bus conversion is, of course, electrical. First, you must check the wiring of your bus. If it connects to the starting system of the bus, then keep checking if the bus starts up after each wiring change.
Make sure you have an idea of all the appliances you wish to install in your RV before you start working on the electrical system. Make provisions for an air conditioner, water heater, refrigerator, and TV. In addition, there should be small units to plug in chargers.
Plumbing
The next step would be to work on the plumbing. This is a crucial step in your short bus conversion process. You should make separate arrangements for your water plumbing as well as your propane plumbing. The water main should be connected to the faucets in your kitchen as well as the bathroom. There should also be proper drainage outlets for your black water and gray water systems. Make sure your propane plumbing is in place and working. Make sure to run checks on connecting outlets and drainage systems.
Insulation
When you are undertaking a short bus conversion, it is better to swap out the old insulation. This RV, after all, will be your home, and once everything is installed and moved in, problems with your insulation will be hard to fix. So before installing the flooring and frame walls in your RV, you should take care of the insulation.
Use rigid insulation boards of a suitable thickness and cut the boards into favorable sizes to fit into your walls and floor. Use canned expanding spray foam to fill in the gaps between each board after installing them so that they are held in place.
Flooring
Install the subfloor first using plywood. Trim the subfloor a little smaller than the width of your short bus to make sure it fits easily with the edges of your bus and is easy to install. Next, secure the subfloor above the insular pads and screw the arrangement together to the metal floor of the bus.
For the final layer of flooring, make sure you choose the right material. Again, this is what you will walk on and what will be visible, so make sure the material you choose should be able to take the weight as well as suit your aesthetic needs.
Framing
The design of your RV depends on the framing of your RV. First, chalk out the spaces within your RV. If it helps, make a drawing of the space within your RV and figure out where you want your bedroom, living room, kitchen, and bathroom(s) to be. Always design the space to accommodate the kind of furniture or appliances you want and need.
Take measurements within your bus- between walls and the higher and lower points of the ceiling to the floor. You should also take measurements from the back of the seat in the front of the bus to the back of the bus to see how much space you have. Then, start building walls and partitions wherever needed only after the measurements are complete.
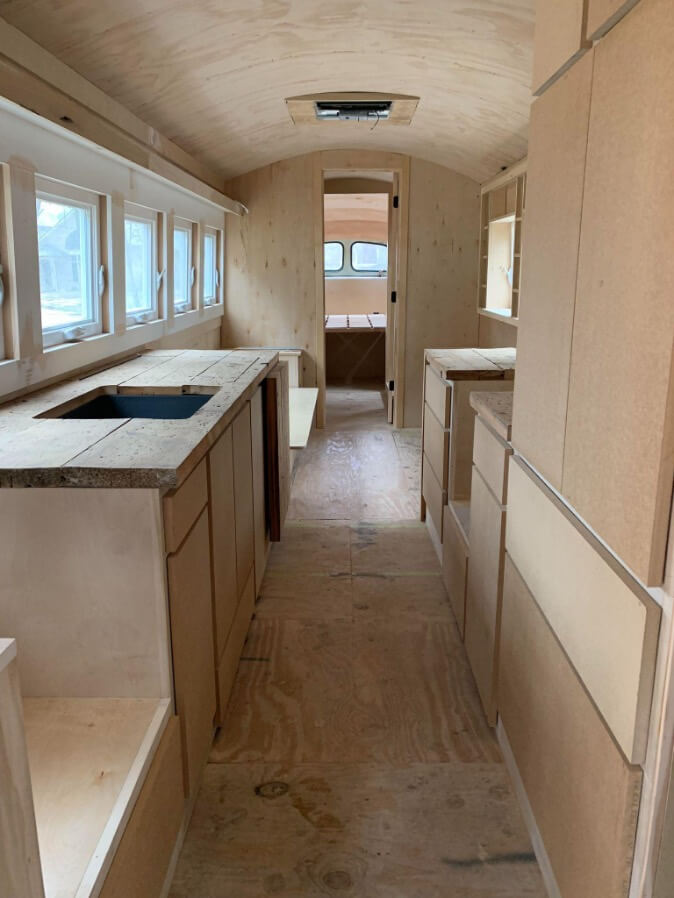
The Interior
Once you are done building the layout of your RV home, the next step is painting the interior. Paint the interior and let it dry for some time before putting up the wallpapers wherever you need them. As for the installation, start from the farthest corner of the RV and put everything in as you go. Choose a bed that is suitable for your bedroom. Install all the required tables and shelves. Conserve as much space as you can.
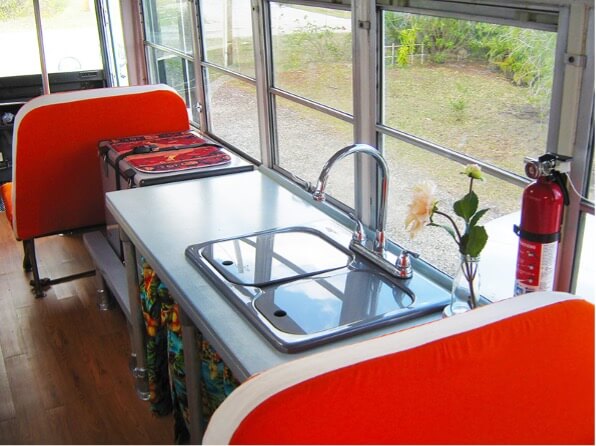
Install the faucets and pipes in your bathroom and make sure they work. Run multiple checks on the shower system and drainage systems. Install the sink in the kitchen. Plan the cabinets in advance to suit your needs. Plug in all the appliances where you need them and check the outlets. Lastly, add the finishing touches to your RV home and decorate it with as many knickknacks as you want.
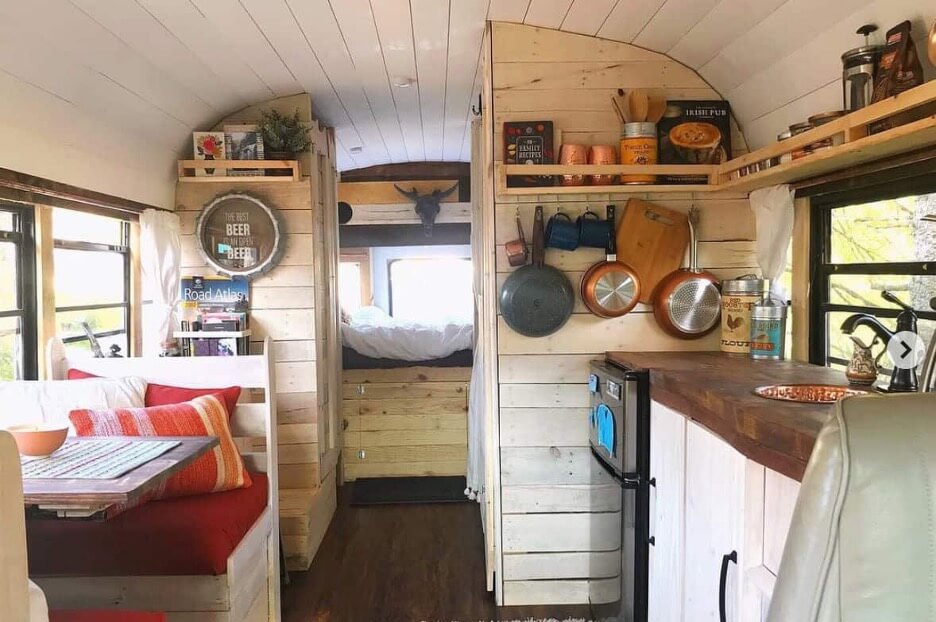
Storage Solution
Storage spaces within an RV home are essential. These storage spaces must be planned in the initial stages of your short bus conversion. Utilize as much space as you can wherever you can. For example, the space under the bed can make for a good storage space. If you do not want to invest in a separate closet space, you can customize your bed to act as a makeshift closet. It could also be a storage unit for things that will not be in regular use. Similarly, you can use the space underneath your sofas or seats. Make sure your kitchen has overhead cabinets that make your space as functional as it will be clean.
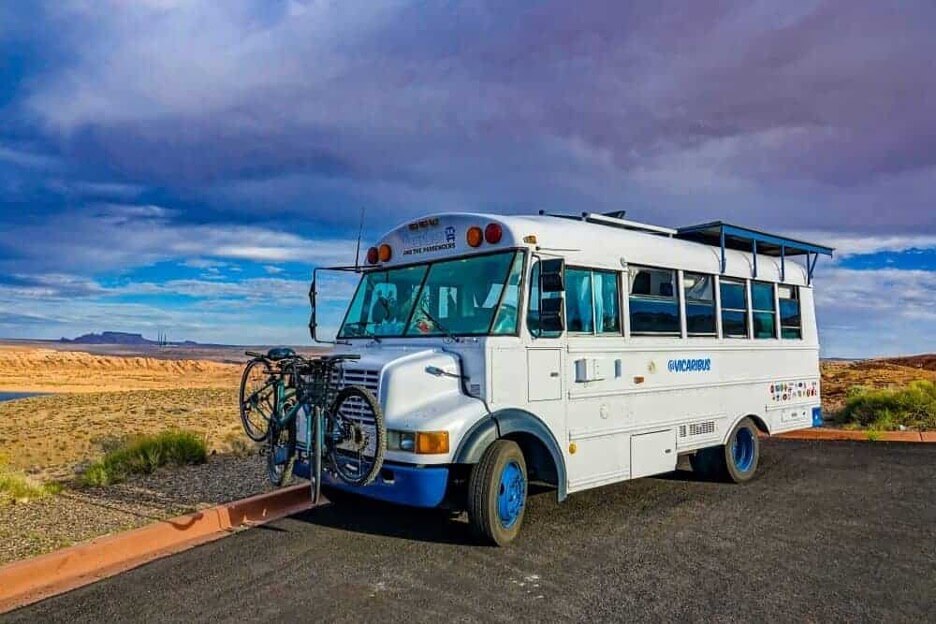
The Exterior
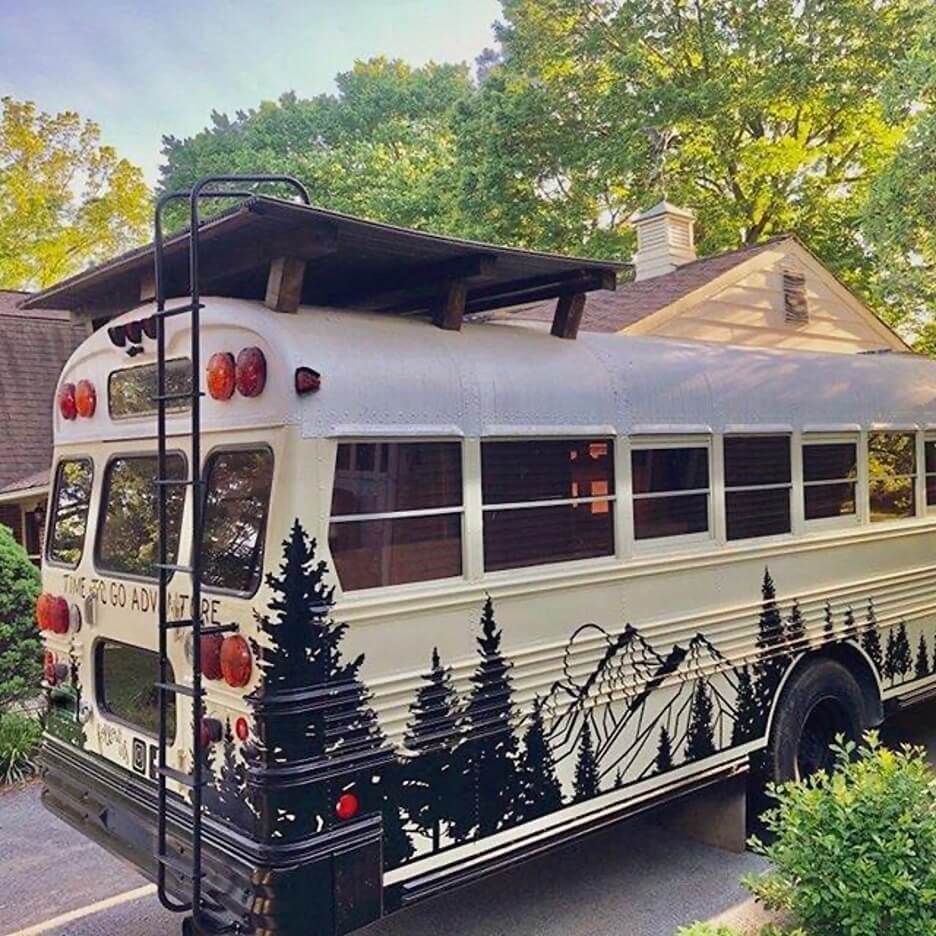
Although this is optional, you can also customize the exterior of your bus however you want. This will be the last step of your short bus conversion. You could install a roof deck if you want. After all, it will make for a great place to hang out or even stargaze.