
Nothing beats being in the middle of nowhere with a broken RV air conditioner in your recreational vehicle. When taking your RVs out on the road for the first time, this is one of the most significant challenges they confront. You and your family are packed and ready to travel, but your air conditioner still won’t work properly despite an hour of test runs.
Don’t worry. We are here to assist you if your RV’s air conditioner is not producing cold air despite your best efforts. Before we start looking at how to fix it, let us first the inner workings of an RV air conditioner and learn how to inspect the various parts of your RV AC to figure out why it’s not working properly. Come on, let’s cool it off!
If the air conditioner in your RV isn’t producing enough cold air, consider these five potential causes:
- An issue with the thermostat
- A problem with the fan
- Stagnant Freon levels
- A dirty compressor
- Damaged capacitor due to overheating
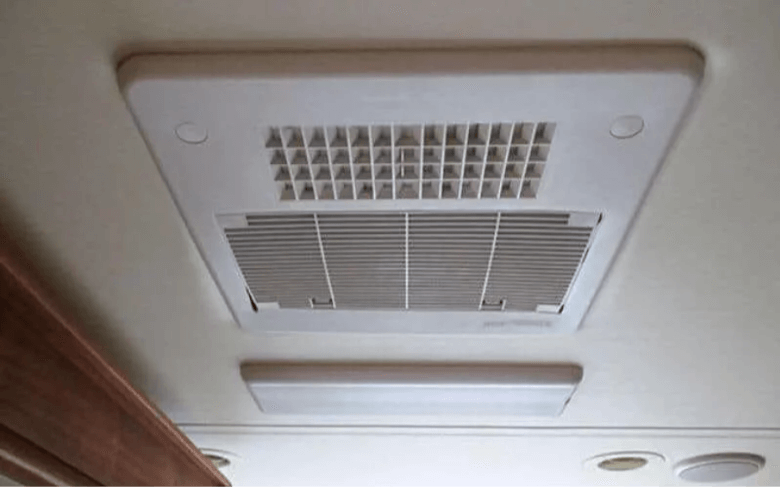
So, How Exactly Does That RV Air Conditioner Function?
In order to speed up the troubleshooting process, it can be helpful to have a basic understanding of how an air conditioner functions. For example, many RV air conditioners also have a heater component.
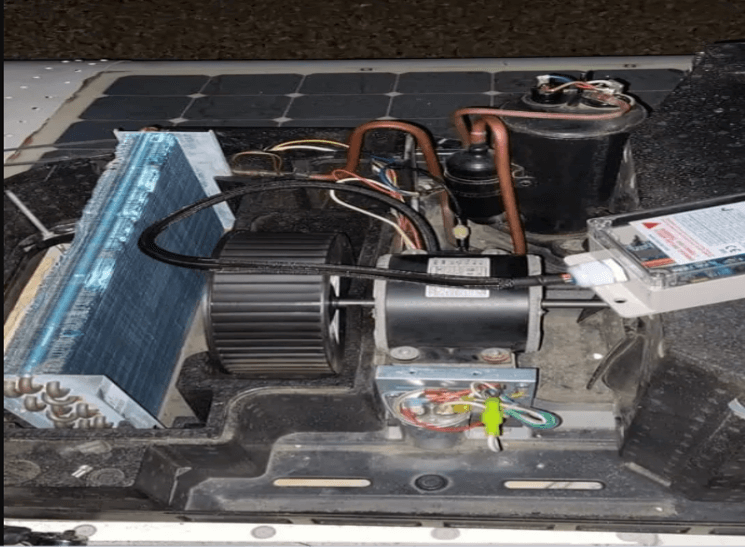
The condenser’s fins and coils are kept cool by a Freon cooling fluid, and most models use a compressor to do the job.
A specialized fan then pushes the cooled air into the RV’s ventilation system.
This thermostat has a built-in switch that activates the fan and compressor and is powered by the vehicle’s 12 V electrical system. When the desired temperature is reached, the thermostat will turn off automatically.
How Do I Fix a Faulty RV Air Conditioner?
If the air conditioner in your RV isn’t producing cold air, check the thermostat and the electric system that powers it. Occasionally, the thermostat will shut off the system because of something as simple as a loose cable or a dead battery.
In addition to these signs, you may also notice the following:
A lack of noise from the RV air conditioner could indicate that the controls aren’t getting enough power. If the fan or compressor starts slowly, doesn’t produce any air, produces only warm air, stops working for short periods of time, dims the lights when running, or trips a breaker, it may be time to replace the capacitors.
Could It Be the Thermostat?
The thermostat’s internal temperature sensor can fail, or the device can malfunction occasionally.
It may be time to replace the thermostat if it no longer shows the temperature, blinks, or shows an odd reading. It could be as simple as replacing the batteries in your thermostat that operate on AAs rather than 12 Volts.
How Do I Change a Broken RV Thermostat?
The thermostat and its internal temperature sensor should serve you well for many years. However, their life span is still finite.
A malfunctioning thermostat may not give an accurate temperature reading to the compressor or may not send a signal at all. When this occurs, the compressor does nothing while the fan keeps spinning because it thinks it must exhaust the air.
The good news is that thermostats are simple devices to swap out.
- Turn off the circuit breaker or remove the batteries from the thermostat to cease electricity.
- Remove the thermostat from the wall with care. There will still be wires connected.
- To get rid of the old thermostat, just unplug the cables behind it.
- Get the new thermostat out of the box and hook it up to the wall’s wiring. Then, put it back where it was.
- To get the most out of your new thermostat, make sure to read and implement the included activation and setup instructions.
Do You Think the Fan Might Be Broken?
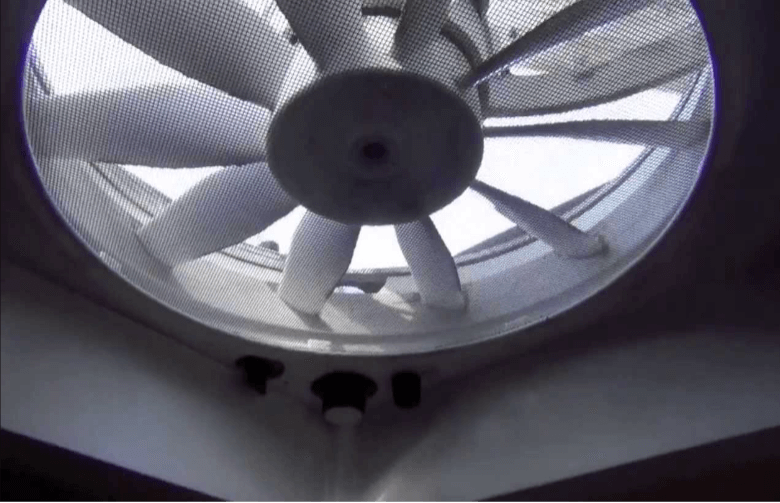
If you turn up the RV air conditioner‘s speed and the lights start to dim, it could be a sign that the fan motor or capacitor is failing.
When the fan is on, if there is a mild burning smell, it could be because a bearing or a wire in the motor has burned. Running in such a flammable environment is highly dangerous.
The quickest and easiest fix is to get a new fan when this happens.
What If the Compressor Is at Fault?
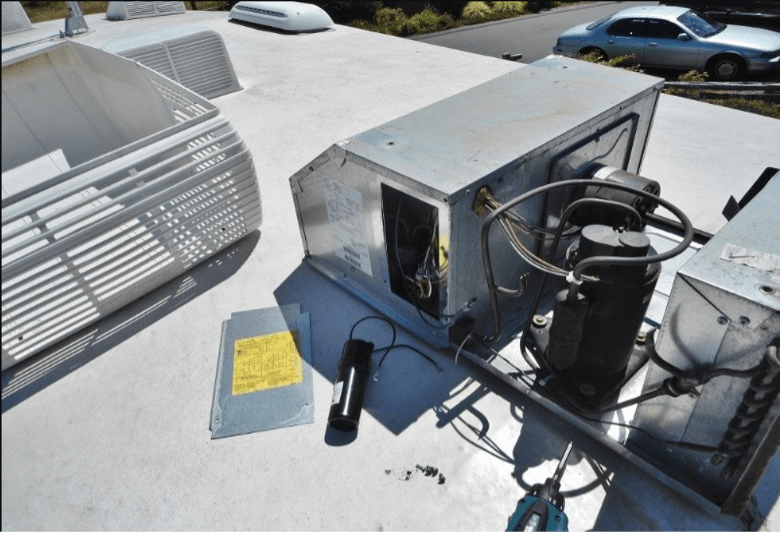
The overuse of a compressor can lead to its eventual failure. However, in some cases, routine maintenance is all that’s needed to restore a system’s functionality.
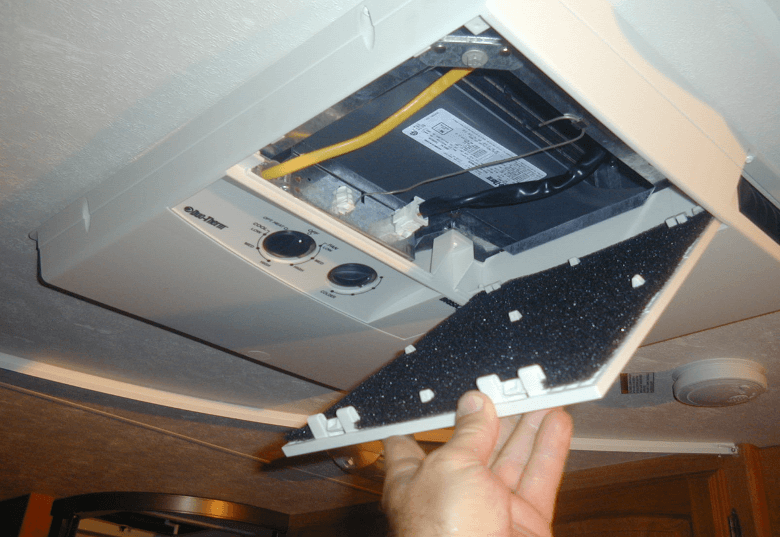
The RV’s air conditioner may need its coils and fins cleaned if it isn’t producing cold air or if it heats up quickly. Also, ensure there are no leaks, loose nuts, or gaskets in the AC unit’s roof components.
Frost or ice accumulation is a sign that the air conditioner needs to be recharged because of low freon. Your car’s or RV’s air conditioning system can be recharged with freon, which can be purchased at some auto parts stores.
It’s important to spend a little more on a high-quality option if you’re going to go this path. This is not where you want to cut corners! Something may be out of place or interfering with the RV air conditioner‘s motors if it makes an unusual amount of noise.
You can take the shroud off for a better look if you have the proper equipment on hand. For example, a completely burned motor can be detected by smoke or a scorched odor.
If the problem with the compressor is just minor, like the freon level being low or the cooling fins being dusty, you may be able to fix it on your own. However, you will need to have a professional replace the compressor if it is burned out or there is a significant leak within.
Could It Be a Capacitor?
The recreational vehicle air conditioner operation relies heavily on capacitors. A capacitor is an electrical storage device that supplies a jolt of power to the fan motor and the compressor when connected to the RV air conditioner. They typically take the form of a button, flask, or battery.
A capacitor can deteriorate over time. And especially if the RV has been idle for longer than one winter. If a component like a fan or a compressor capacitor fails to start, it might result in several different symptoms.
For example:
- When turned on, an air conditioner makes a buzzing noise as it attempts to start.
- Having the air conditioner on for even a short period can cause a fuse or circuit breaker to blow.
- Need to push the button to get the fan going.
- Since the compressor hasn’t started, the fan has been running and blowing hot air.
- Occasionally, a faulty capacitor will even emit a little cloud of smoke.
It’s possible that multiple capacitors have failed simultaneously. You shouldn’t attribute all the fan’s issues to a single faulty component just because you found one.
The compressor may have a second charred capacitor. But, you can still deal with the same issue if you only replace one capacitor without checking the other device. So, be meticulous always.
What Is the Best Way to Check If an AC Capacitor Is Bad?
Once you’ve tracked down a possible bad capacitor, you can examine it with a regular multimeter.
If you test a capacitor with a multimeter, the reading should gradually drop over a period of a minute or two if it is working properly.
A bad capacitor can be easily replaced, thankfully. Don’t forget to note the necessary voltage and the capacitor’s model number on the previous one.
You could try your luck in the electrical section of a home improvement store for a replacement. But, if not, you might have to buy one online.
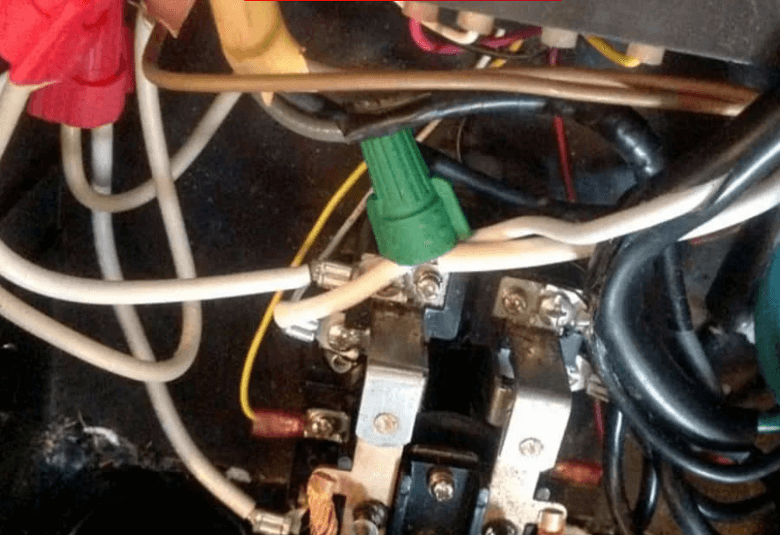
What To Do If Your Capacitor Has Burned Out and Needs Replacing?
Remember that capacitors retain a small amount of charge even after the power is switched off.
Touching it with bare hands is dangerous, and you’ll have to discharge any residual charge before replacing it.
- The first step is completely disconnecting the device from the power source. Don’t risk it; shut off the main power at the breaker box if you’re not sure what you’re doing.
- The second step is to trace the wires and note their destinations. Again, you may use a piece of masking tape and some letters to help you keep track.
- Step three involves discharging the remaining charge from the damaged capacitor. Put on a pair of insulated gloves and use a screwdriver or any other piece of metal to connect the terminals.
- In the fourth, the old capacitor is discarded, and a new one is installed. A soldering iron may be needed in some configurations.
- The fifth and final step involves restarting the power system. After waiting a few minutes, try restarting the RV’s air conditioner.
Finally
The RV air conditioner not blowing cold may seem like an easy fix to resolve. However, many more issues could be causing the problem, and this must be factored into the solution. Use the above steps when tackling this problem to ensure your best chance of fixing it.
1 thought on “How to Fix RV Air Conditioner Not Blowing Cold”