

Ever wonder why the ceiling vent cover matters? It’s like your RV’s breath of fresh air, keeping things cool and comfy. So, knowing how to give it a little TLC is important. Hold tight because we’re going to share the secrets.
First up, we’ll show you how to prep, like gathering tools you probably already have. Then, with a twist here and a nudge there, we’ll help you to pop that cover off like a champ. We’ll keep it breezy and fun. There are no fancy words or confusing steps, just straightforward tips to get that cover off without a hitch.
Ready to make your RV even more awesome? Let’s start and give your ceiling vent cover the love it deserves.
How to Remove RV Ceiling Vent Cover
Step 1: Gather Necessary Tools

Okay, let’s gear up to handle these RV ceiling ideas. Being ready is super important, so let’s make sure we’ve got everything good to go before we start. Find a solid screwdriver. You can choose between a Phillips or flathead one, whichever you prefer. Also, grab a strong ladder, especially if reaching the vent is a bit tricky. Having these basic tools ready will help you do the job well and feel confident doing it. So, let’s make sure we’re all set to take on the task and do our best. Your effort will shine.
Step 2: Identify the Attachment Points
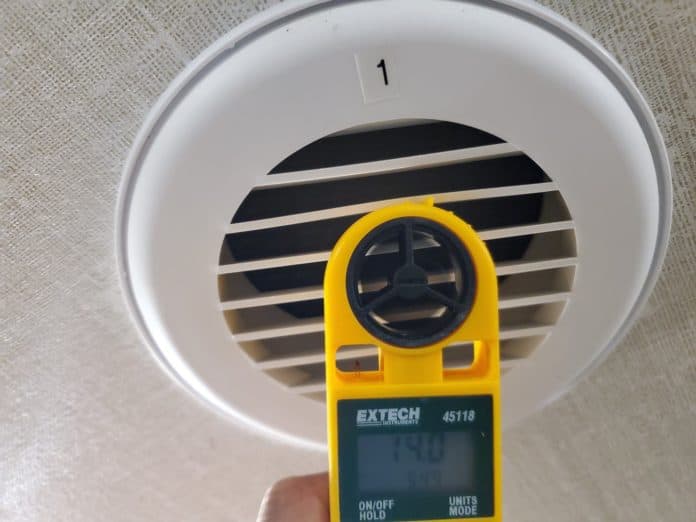
Get a screwdriver and some other tools you need. Look closely at the vent cover to see how it’s put on. Usually, covers are held by screws or tabs. These screws might be on the sides of the cover or inside the vent’s house. Just unscrew them carefully or unhook the tabs, and you can remove the cover. Then, you can easily get to the vent and clean it. Remember, do this right so you don’t break anything. With the right tools and a little patience, you can get that cover off and clean your vent.
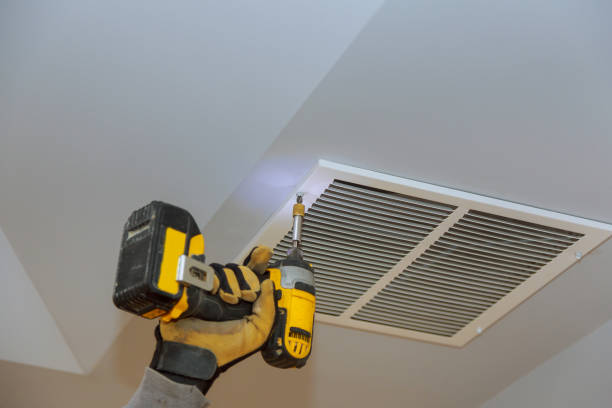
Step 3: Remove Screws or Release Tabs
If the vent cover doesn’t come off because of screws, find a screwdriver that fits. Use it to take out the screws. Keep the screws safe. You’ll need them later to return the cover. If little parts hold your cover, gently push or lift them to take the cover off. It’s a bit like when you separate puzzle pieces. Just be careful not to break anything. Follow these steps to help you easily remove your vent cover, whether it’s held on with screws or parts. This way, you can clean or fix the vent without a fuss.
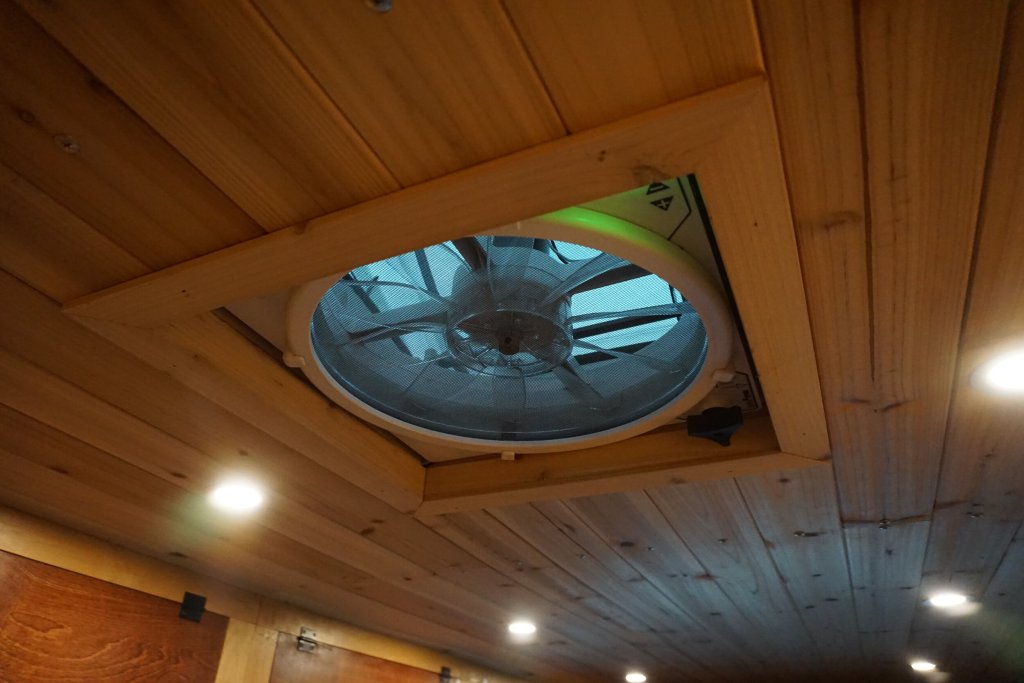
Step 4: Remove the Vent Cover

First, loosen the corners of the vent a bit. Just give them a little wiggle. Now, grab the cover of the vent with your hand. Lift it slowly, not too fast. If it’s hard to lift, don’t pull too hard. We don’t want it to break. Now, here’s something important: some vent covers are held by tiny clips. These clips are like little hooks that you need to unhook carefully. It’s a bit like solving a puzzle. Instead of pulling hard, be gentle as you separate the pieces. Remember, no need to hurry. Take a deep breath and take your time. Be patient and gentle, and you can open the vent without any problems. Your care and patience will help.
Step 5: Clean and Maintain (Optional)
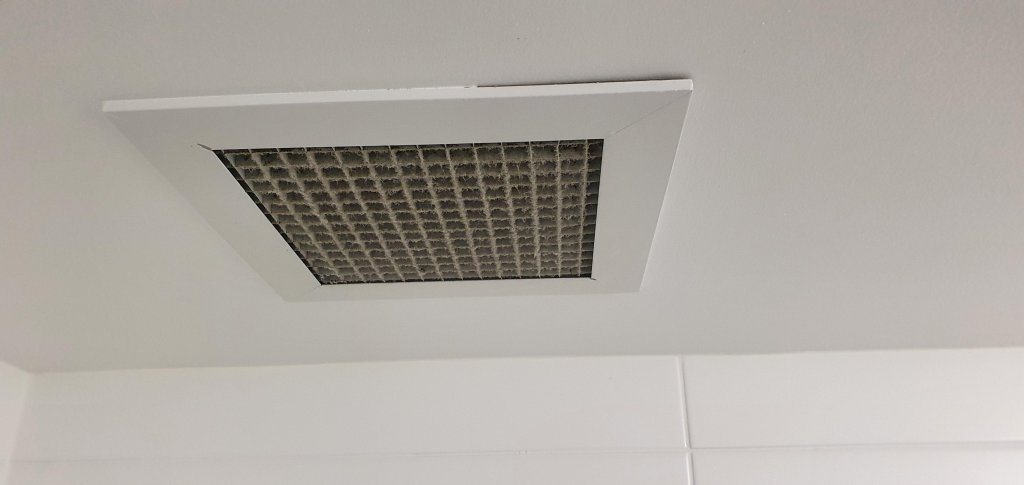
When you take off the vent cover, give it a good cleaning. Remove all the dirt, dust, and stuff that might be there. Also, check the vent’s house and the area around it. Look for any signs of damage or wear and tear. Doing this helps the vent work better, and the air in your place stay fresh. Cleaning the vent cover and checking for damage might seem small, but they help keep your place nice. When you do these things, the air quality improves, and everything feels good. So, remember to clean the vent cover well and watch out for any problems. Next time you take it off, your place will be happy for it.
Step 6: Reinstall the Vent Cover
Putting back the vent cover is a breeze. First, check if it matches the vent hole just right. That’s important. Gently slide it in. It should fit perfectly. Now, there are two ways to keep it in place use screws or snap it with the tabs.
If you pick screws, don’t make them too tight. Give them a good twist, but not too much. Tightening them too much can hurt the cover or the vent. Think of it like closing a jar: not too loose, not too tight. This step makes sure everything stays safe. With the vent cover back on snugly, your vent will work well, and your place will feel comfy again.
Conclusion
So there you have it, the easy way to remove your RV ceiling vent cover. Just remember these steps: First, grab your screwdriver. Then, gently unscrew the screws holding the cover in place. Take off the cover slowly, making sure not to drop it. You’re looking at the inside of your vent now.
By following these simple steps, you can ensure your RV stays fresh and breezy. No more struggling with a stuck or dirty vent cover. You’ve got the power to keep your home on wheels feeling comfy. Remember, maintenance like this keeps your move rolling smoothly.
Happy travels and happy vent fixing.