

Do you love hitting the open road in your RV? If so, you might have noticed some sagging spots on the ceiling that need a little TLC. No worries, we’ve got you covered with an easy guide to fixing those annoying ripples and restoring your RV’s interior beauty. Think about you inside your cozy home on wheels, looking up and there are ripples in the ceiling. We’ll show you step by step how to smooth out those ripples.
First, we’ll gather the simple tools you need, stuff you probably already have lying around. Then, we’ll gently work on those sagging spots, like giving your RV a nice, comfy pillow to rest on. So, grab your tool belt, and let’s make your RV’s ceiling as cheerful as your travel adventures.
Ready to banish those ripples? Let’s get in.
How to Repair Ripples in RV Ceiling
1. Identify the Cause
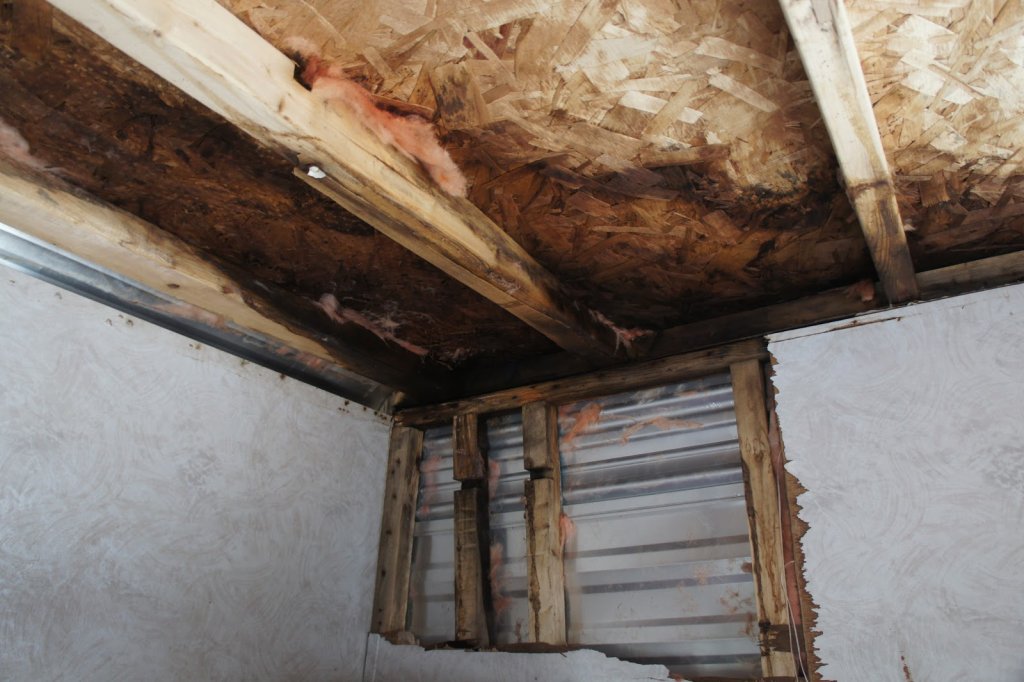
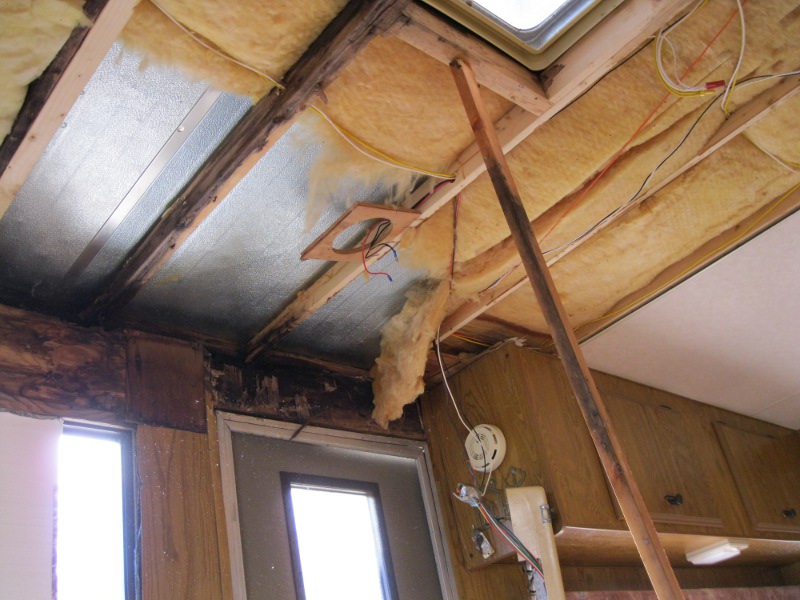
Before you start fixing stuff, it’s super important to know why those ripples happened. Those ripples can come from things such as water leaks, temperature changes, or just because your RV has been around for a long time. If you can figure out why they’re happening, it can help. It’s not just about making things better now but also about stopping similar issues from happening again. So, make sure to look into what’s causing the ripples before you start fixing things. With these RV ceiling ideas, you can deal with the problem better and keep your RV in good shape for a longer time.
2. Gather Materials
Here’s what you’ll need: a helpful knife, sticky stuff, a spreader, a small roll thing, scratch paper, and matching ceiling fabric or paint. These tools will be your pals as you change up your ceiling. Remember, your helpful knife is for careful cuts. The sticky stuff keeps things together, the spreader makes stuff flat, and the small rotating thing makes it look professional. If things aren’t just right, scratch paper fixes it. And lastly, the right ceiling fabric or paint makes it look awesome. So, grab your tools, and let’s start making a ceiling that works and wows.
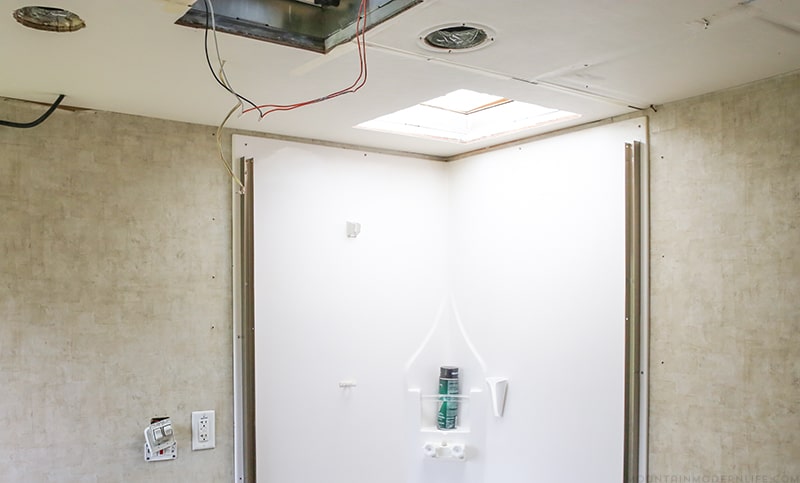
3. Remove the Damaged Section
Think about having a very sharp tool called a utility knife. It’s super helpful. Think about how you need to fix something a bit broken. Instead of jumping in, take your utility knife and use it gently to cut around the not-so-nice part. By doing this careful cutting, you make a smooth and straight line. And that’s important. When you’re fixing things, you want them to look good, right? So, making that clean edge with the utility knife is like giving your fix-up a pro touch. Remember: get your utility knife, cut carefully around the not-great part, and you’ll end up with a fix that’s not only even and neat but also seriously polished.
4. Apply Adhesive
Make sure you spread the sticky stuff evenly on the back of the ceiling fabric or paint. And don’t forget, always read and do what the adhesive instructions say. These instructions are like a map that helps you use the sticky stuff the right way. Different sticky stuff might work differently, so the instructions are like a secret code to get things to stick just right. If you follow the instructions, your ceiling fabric or painted surface will stay on well. That’s how you make things stick to the ceiling work great.
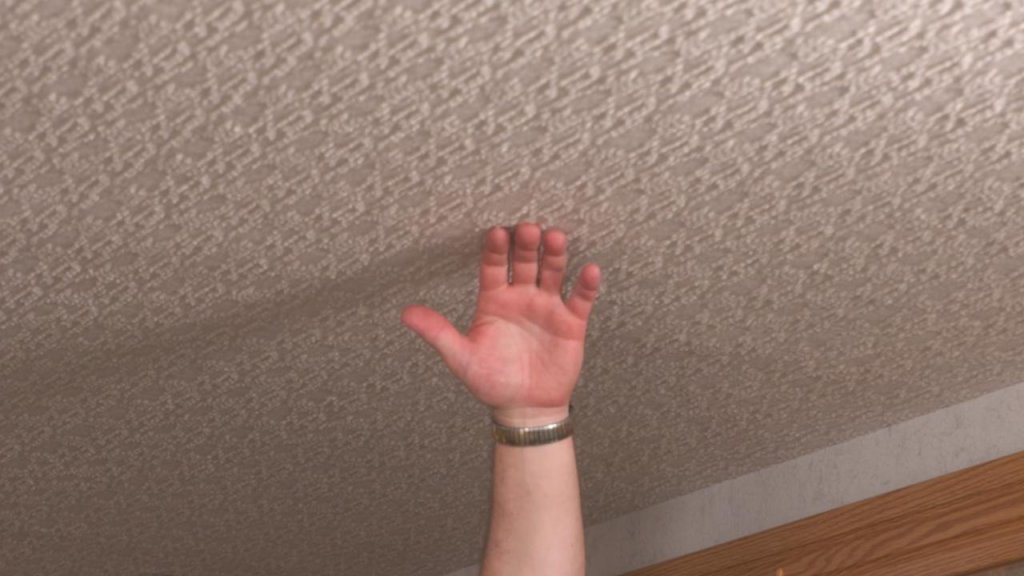
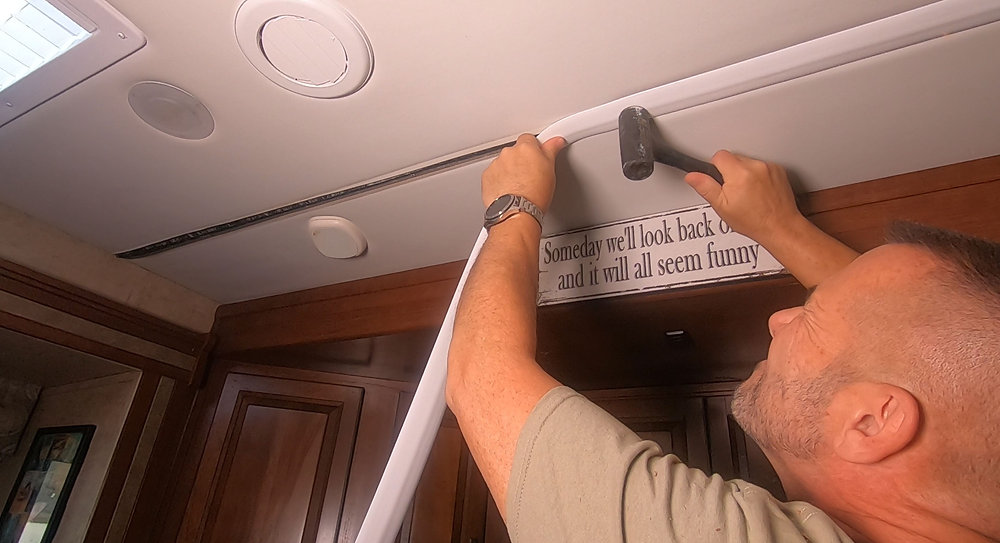
5. Smooth and Flatten
When you want to put fabric or paint on the ceiling, do it like this for the best result. Start in the middle and gently press the fabric or put the paint on the ceiling. Smooth from the middle to the edges. To make it smooth and nice, get a small roller or a putty knife. After you put the fabric or paint, use the roller or knife to get rid of any bubbles or wrinkles gently. This step is important to make it look neat. Push evenly while you use the roller or knife to make sure the fabric or paint sticks well to the ceiling. Just follow these steps and take your time. Then you’ll have a ceiling that’s stuck well and looks good, whether you use fabric or paint.
6. Trim Excess Material
Once you’ve put on the fabric or paint and it looks smooth, get a sharp utility knife. Carefully cut off any extra parts along the edges using the knife. Make sure to cut right along the edges for a clean look. Take your time and be accurate while cutting. This will make your project look really good. Just remember to go slow and be careful when using the knife to trim off the extra stuff.
7. Sand and Finish

After you’ve put on paint and it’s dried, get some sandpaper. Gently rub the painted area with it, like you’re smoothing it out. This step is important because it makes things nice and even. It’s like a little trick: the rough parts get softer, and the fixed part becomes just like the rest. And if you used fabric for fixing, here’s what you do. Make sure the fabric is pulled tight, like a stretched rubber band. Think of it like a tight hug for your fix. Also, ensure the fabric is stuck on so it doesn’t move. Whether you’re fixing with paint or fabric, these last things are like the cherry on top. They make everything look really good and finished.
Conclusion
Fixing ripples in your RV ceiling isn’t as tough as it seems. Remember, take it step by step. First, gather your tools, you know, your glue and a soft cloth. Then, gently warm up the area, making it soft like warm bread. Apply some glue, just a bit, and smooth it with your cloth.
Next, gently press down to make the ripples vanish like magic. So there you have it, a smooth ceiling ready for your adventures. With these simple moves, ripples don’t stand a chance. Now, beat the challenges and roam the roads with your ripple-free ceiling.