
How To Replace Your RV Or Motorhome Roof – TPO, EPDM, Fiberglass, and Aluminum
Life’s better under the sun; and it’s even better in a Motorhome or RV. Imagine walking away from your home, and just stopping whenever and wherever you want. If you’ve never experienced life on wheels, you’re missing out on one of the best experiences of your life.
But unfortunately, they do eventually start showing signs of age at some point in time. No matter how much you spend on your RV, eventually you will have to repair the rubber roof.
But how exactly are you going to fix or replace your existing RV roof? Well, before we start looking at the steps and how to replace an RV roof, let us first look at the rough estimated cost for replacing an old RV roof.
How Much Would Be the Approximate Cost of a New Roof?
The actual prices for RV roof replacement would typically cost you around $325 per linear foot. The cost is largely affected by the roofing material selected and the vehicle repair store’s hourly labor costs. However, you could replace or repair your RV roof on your own.
In this article, we’ll look at some of the best roofing materials for RVs, how much they usually cost, and the steps required to reseal, repair, or replace your RV’s roof. We have also provided you with some tips for maintaining the top of your RV.
Now that we’ve talked about the rough cost estimation for replacing RV roofs, let’s talk about the best materials currently available in the market.
List Of Most Common Materials for RV Roofs
The most common materials for RV roofs are TPO, EPDM, fiberglass, and aluminum.
EPDM and TPO are the most widely used and accepted options for RV roofing materials. There are a variety of benefits, costs, and upkeep requirements associated with various roofing materials. Now, let’s get down straight to the business.
EPDM
EPDM is a synthetic rubber used frequently for the roofing of recreational vehicles and travel trailers due to its durable, waterproof membrane-like design. In general, the price of EPDM ranges from $5 to $10 per sq foot, making it both long-lasting and affordable.
TPO
As far as RV roof replacement and materials are concerned, Thermoplastic Polyolefin (TPO) is by far the most popular option. The membrane is made up of a single layer of synthetic rubber and a mesh for reinforcement. Similarly, to EPDM, it is typically installed on low-slope roofs.
TPO is highly resistant to ultraviolet rays and can help you save money on energy bills when used as an RV roof. It’s also quite durable; with care, it might survive up to 30 years.
Fiberglass
Fiberglass is more expensive and bulkier than TPO and EPDM, making it an unpopular choice for RV roofs. There are others who would favor fiberglass roofing because of the reduced upkeep required compared to roofs made of other materials.
Extreme temperatures have little to no effect on fiberglass, making it one of the most durable roofing materials. It is fireproof and won’t wear or corrode. Also, a roof made of fiberglass can survive for 2-3 decades with almost no upkeep.
Aluminum
Aluminum is one of the rarest yet most durable RV roof materials available. Although some travel trailer manufacturers use aluminum roofing, it significantly increases the camper’s overall weight.
While neither rubber nor fiberglass is poisonous, aluminum has similar low maintenance requirements. You can recycle the old roofing materials as you replace them because aluminum maintains its worth for a long period.
How to Change the Roof of Your Campervan or Motorhome?
It is easy when we talk about RV roof replacement and doing so will save you a lot of money because you will simply need to buy the materials.
The complete procedure for changing your RV’s roof is described below.
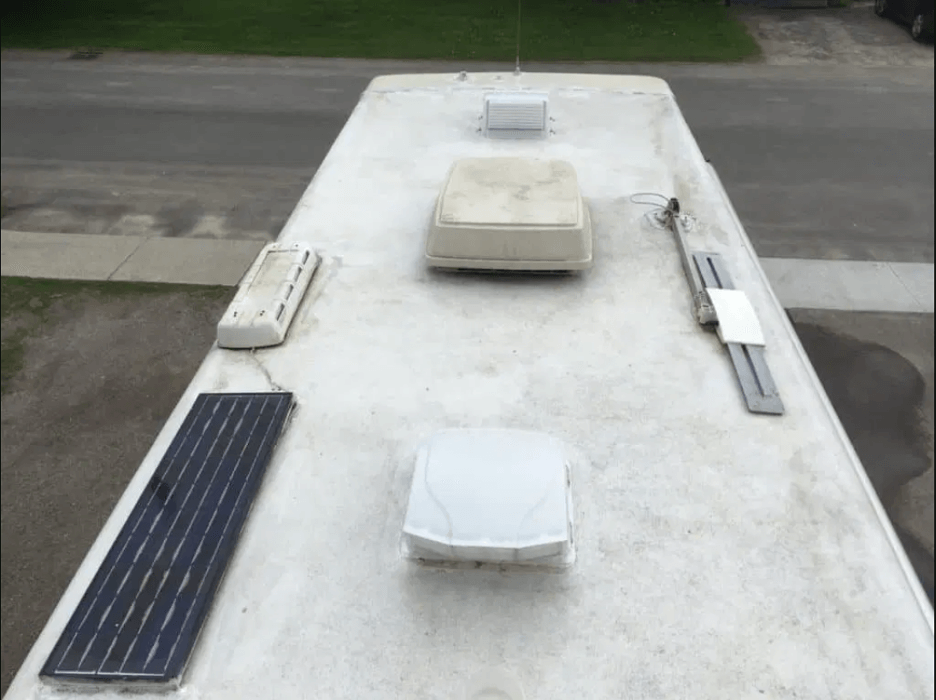
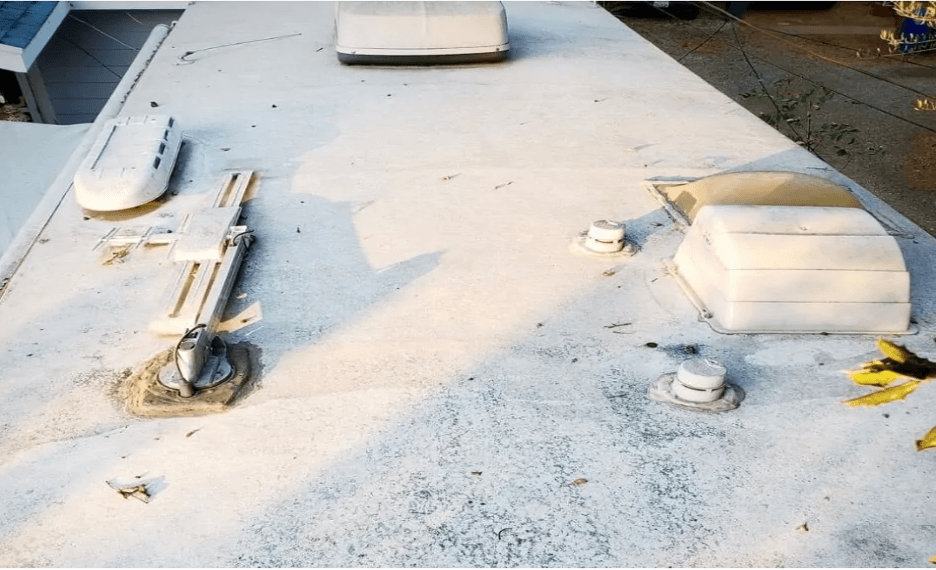
- Firstly, remove all permanent modifications like antennae, AC units, and vents. Do away with the roof as well.
- Then, scrape the old sealant surrounding the taken-out fixtures using a high-quality stainless steel putty knife.
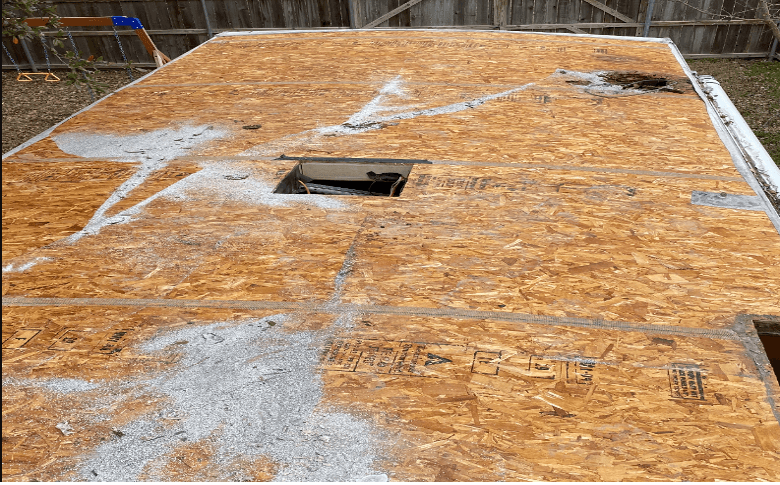
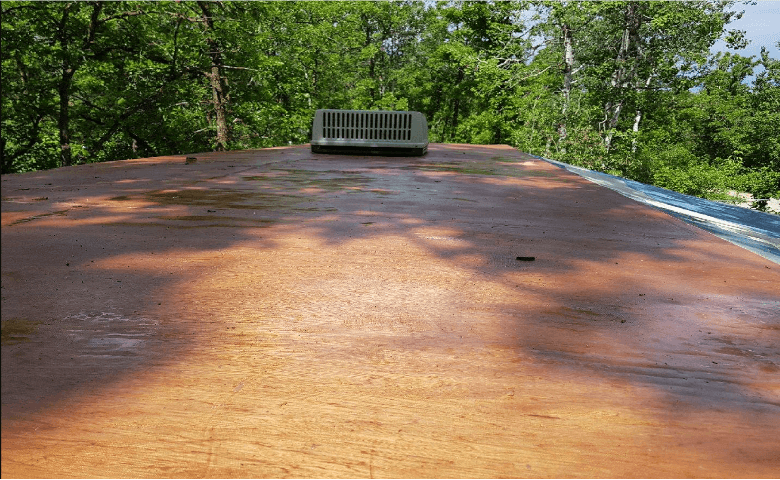
- Get rid of the old roof covering. If your RV has a rubber roof (like TPO or EPDM), you’ll need to remove it to reveal the plywood decking underneath. If your roof is made of aluminum, you’ll need a dye grinder to get rid of the fiberglass matting before you can unscrew the old panels.
- Ensure the plywood underneath the roof membrane is in good shape. Wood that shows signs of rot or bending has likely been damaged by moisture and needs to be replaced. Mineral spirits should be used to clean the remaining plywood in order to treat it against mold and mildew.
- Use seam tape to seal the plywood joints and the area where your camper’s roof meets the side of your vehicle. This will assist preserve the seal in good shape and strengthen any vulnerable spots.
- Putting up a rubber roof entails applying many coats of adhesive to the existing plywood and then rolling out the new roofing panels and setting them into place. When installing a fiberglass roof, the first step is to paint on the adhesive catalyst resin, followed by the fiberglass matting and the gel coat. After the glue has had time to become dry, you can roll your roofing material over it while pushing out any air bubbles.
- If you need to reinstall any fixtures that were removed from the roof, you will need to cut holes in the rubber or matting.
- Finally, after restoring the roof, the RV’s roof fixtures should be reinstalled and re-welded to prevent leaks.
Once you are done changing the roof, you want to keep it well-maintained. Isn’t it?
If you plan to undertake the work on the RV roof replacement, you need a budget of several hundred bucks only for the materials. Keeping your roof clean, checking it periodically for leaks, fixing any damage as soon as you see it, and keeping it covered will all contribute to its longevity and reduce the number of times you’ll need to re-coat it.
Below Are Some Useful Tips for Maintaining Your RV Roof:
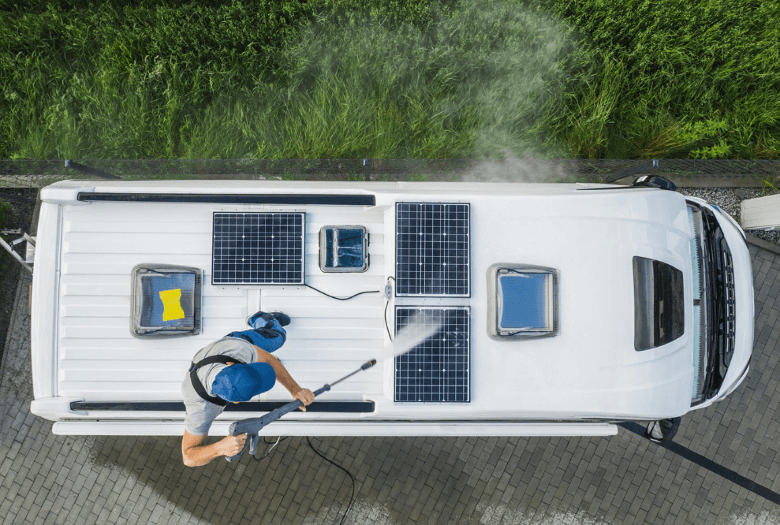
- Always keep your RV’s roof clean.
- Keep looking for leaks.
- Fix the leaking RV roof right away.
- Purchase a sturdy RV roof cover.
Conclusion
Whether you own a recreational vehicle or a motorhome, it is likely that it will need to have RV roof replacement done at some point in its life. Your roof is an essential part of every vehicle. If you have an RV or motorhome with no proper roof, you need to know what is going on with it.
We hope that this article has helped you to understand the different types of resources available, the maintenance required, and the process of replacing the roof of your RV or camper.