

Are you a proud camper owner? As it changes your life and allows you to explore different places in the world.
Going camping throughout the year is impossible, and it’s hard to accept when the camping season starts winding down. However, depending on your residential location, preparing the RV for winter storage is vital so you can use it next season.
If you are a new camper owner, you may wonder if parking the RV in the parking station is all you need to do. But it is not how things work in RV. Before tucking in your camper for winter hibernation, you must follow a particular ritual. The process is called winterizing the RV.
Before diving into how to winterize a camper, let’s understand why you need to do this.
Why Do You Need to Winterize Campers?
Winterizing an RV means preparing it for the winter season. It is an essential procedure if you plan to keep your RV unused for more than three months while temperatures are not favorable for travel.
What Will Happen When You Don’t Winterize Your RV?
You might wonder what happens if you don’t winterize your RV. So here is the answer.
The water left in its pipes and tanks could rupture the pipes and connection points. Once winter gets over and the temperature rises, it could cost you a long repair bill.
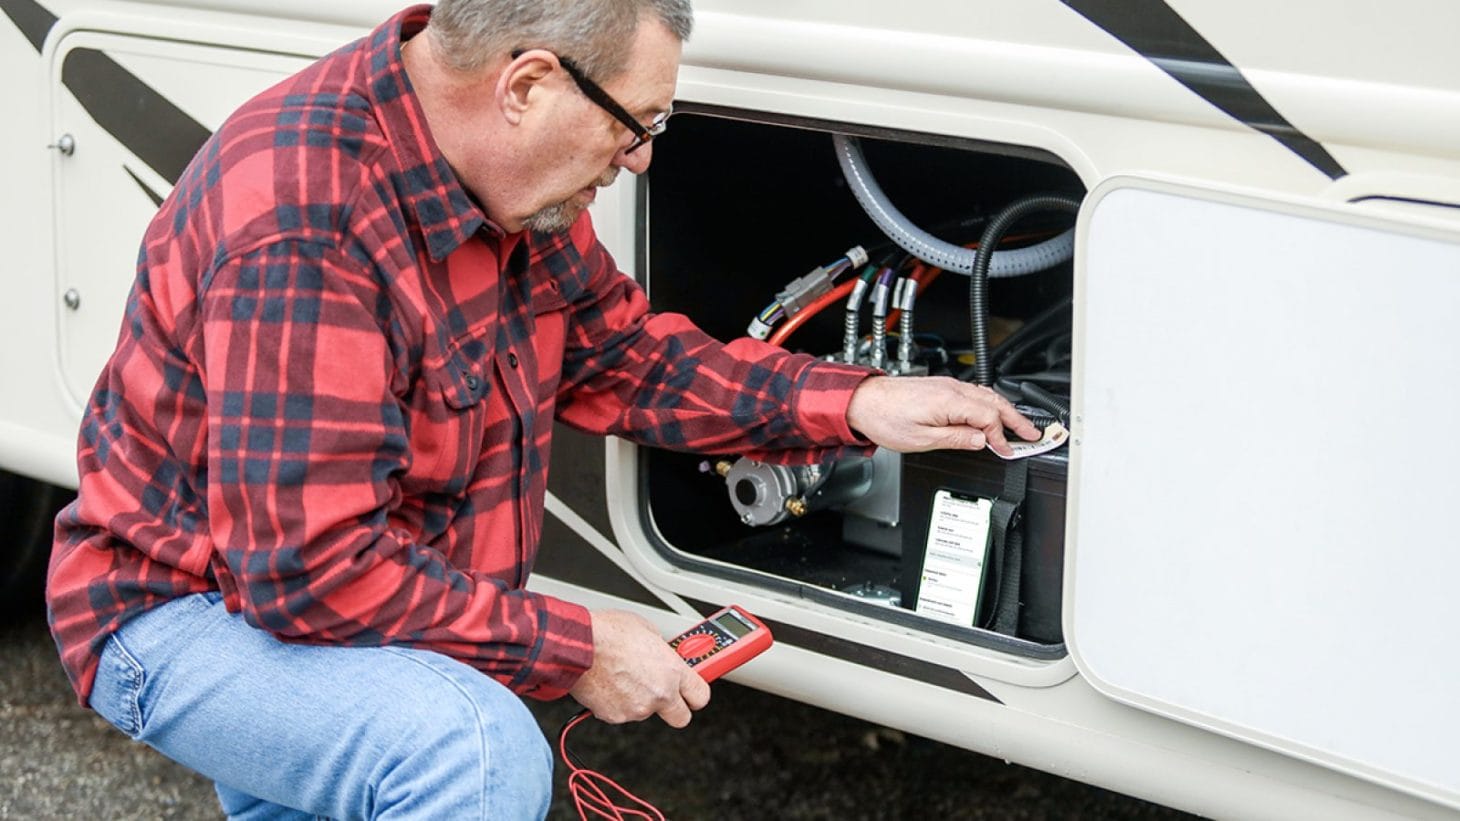
Equipment You will Need to Winterize Your camper?
While winterizing the RV, here are the tools you will need:
- Socket wrench and 1-1/16″ socket
- 3-4 gallons of antifreeze
- Flashlight
- A set of open-end wrenches
- Siphoning kit
- Cordless power drill with #2 square tip driver bit
- Plastic plug or new anode rod
- Water heater bypass kit
- Screwdriver or needle-nose pliers
Moreover, If you’re planning to go with the compressed air process, here are a few additional supplies you will need:
- Water pressure regulator
- A blow-out plug
- A tankless air compressor
How to Winterize Your RV Water System
Once the temperature begins declining, it’s a clear sign that now you should winterize your camper. It’s easy to do this job, but you can also get it done by a dealer if you are okay with paying a considerable amount.We have broken down the complete method into step-by-step processes for winterizing a camper.
Two winterizing methods are often preferred.The first is done with an antifreeze, while the second is done with compressed air. However, it requires extra tools such as a water pressure regulator, blow-out plug, and tankless air compressor, and it is also time-consuming.
Let’s talk about the Antifreeze method.
The Antifreeze Method
Step 1: Emptying the RV’s Water System
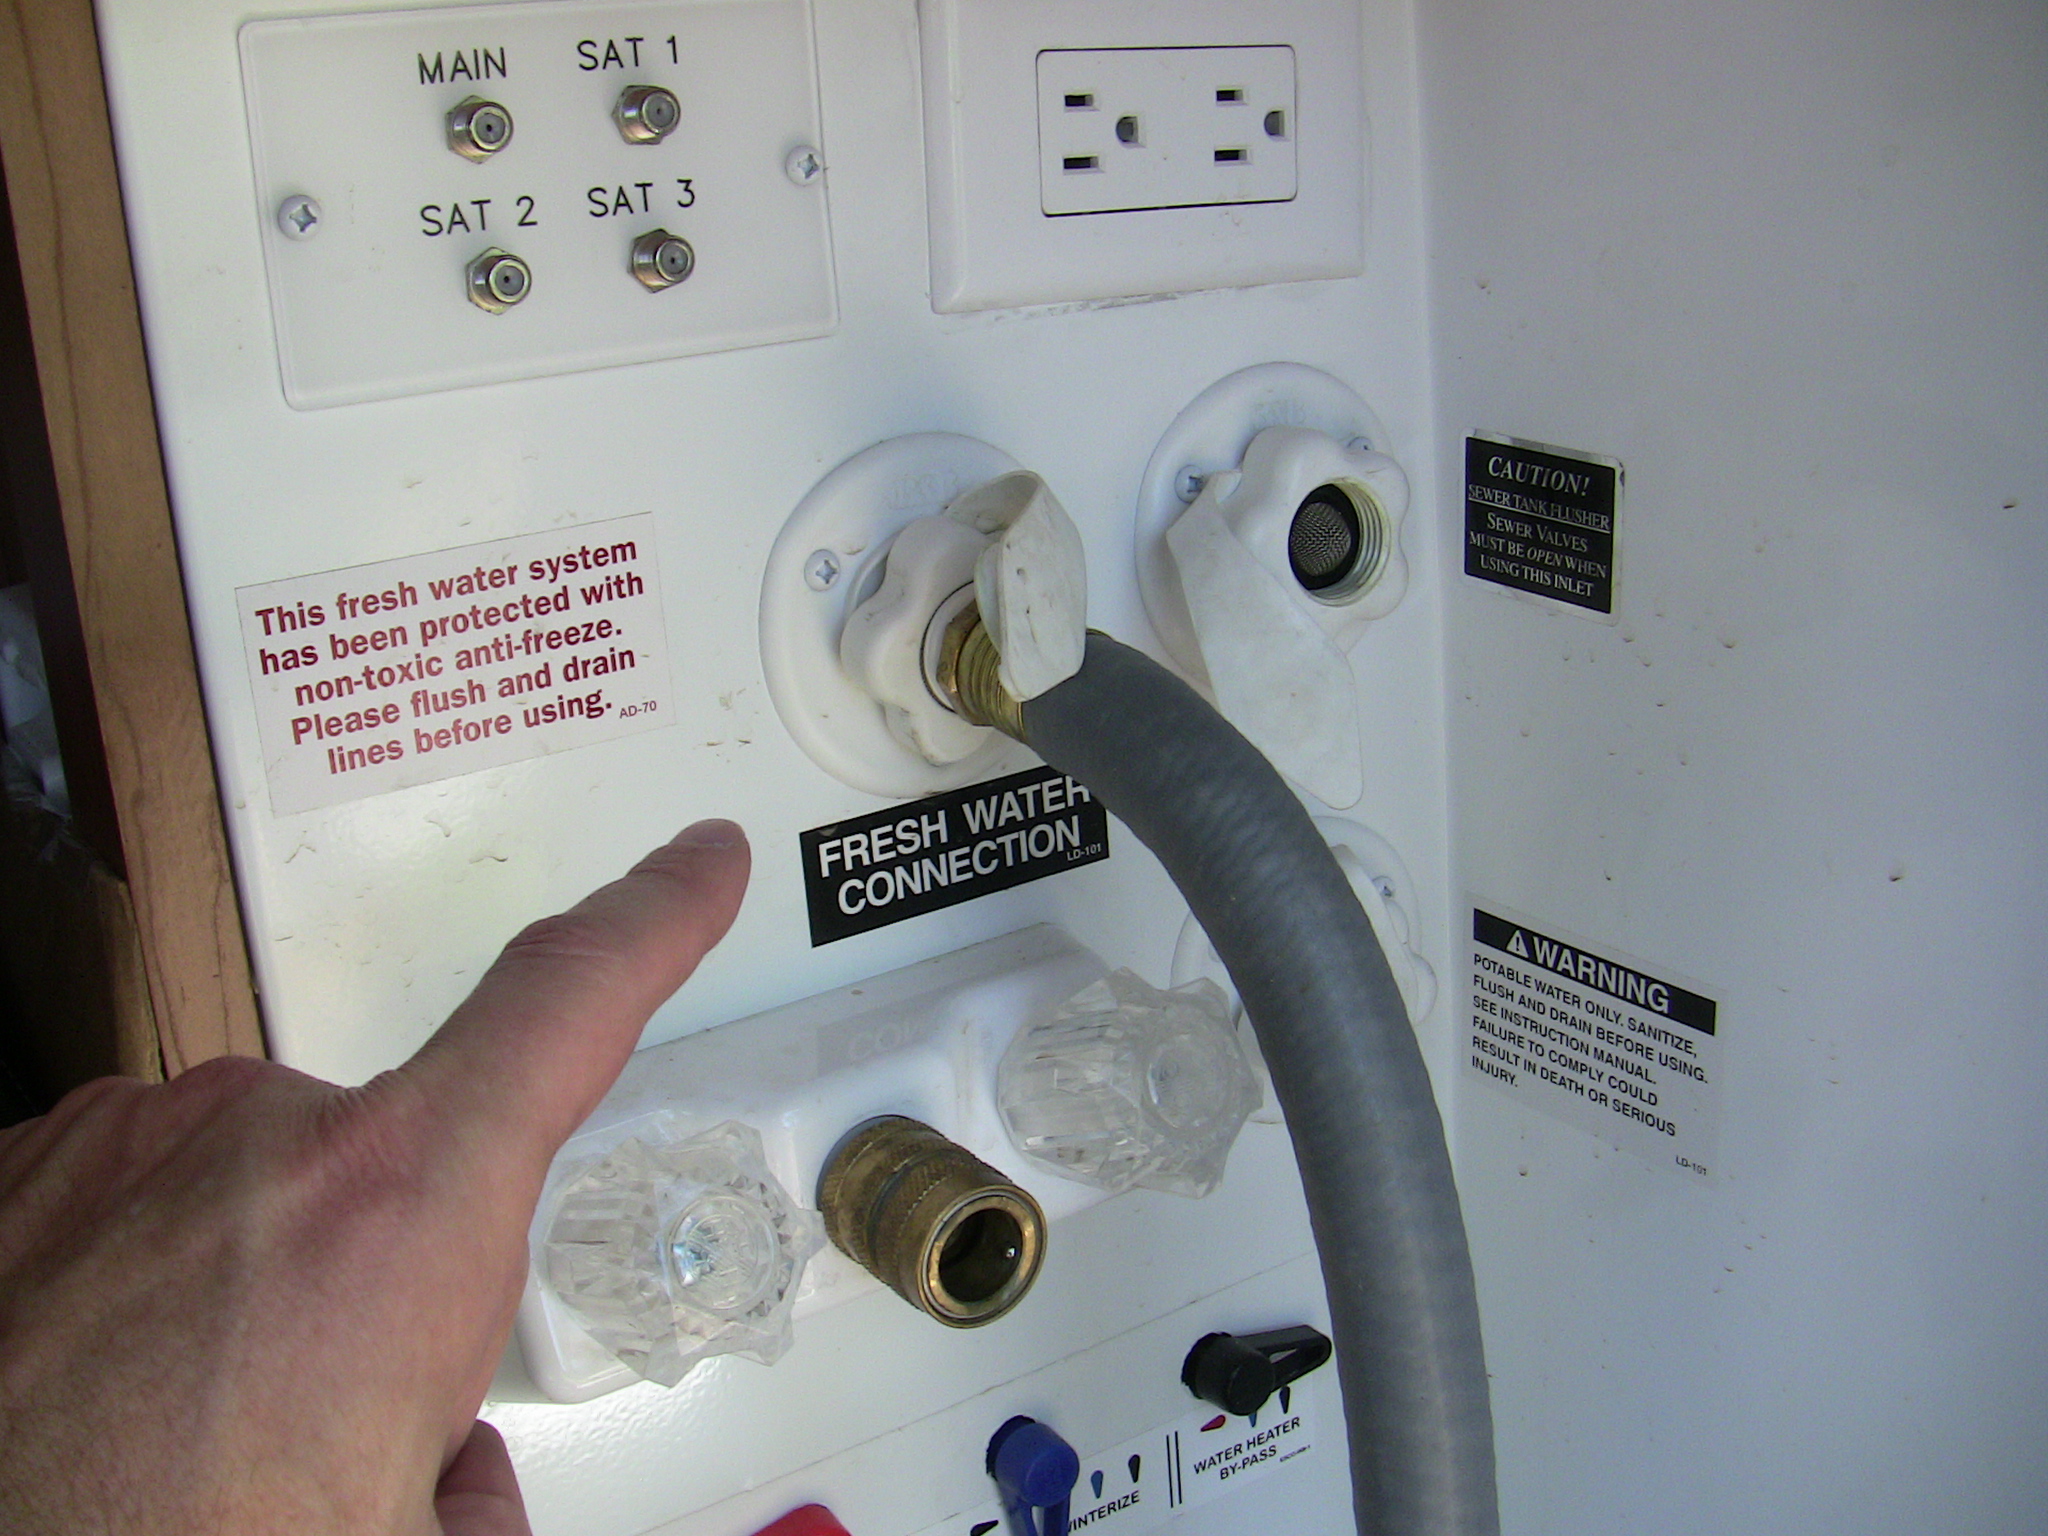
The primary step is to drain the RV, i.e., flush out all the stored water left inside tanks and pipes. This is a critical step; you must do this whenever you try to keep your RV longer. Start the process by draining the freshwater pipe and switching off the pump.
Next, drain the flush via a holding tank and gray water tank via a sewer pipe. You can use a cleaning wand or flush nozzle to rinse the tank if your RV doesn’t include a built-in holding tank flush. Next, turn on the low-point drain lines to empty the freshwater tank. Turn it off when the tank empties and the water stops dripping. Finally, unplug the water heater and let it cool before moving forward.
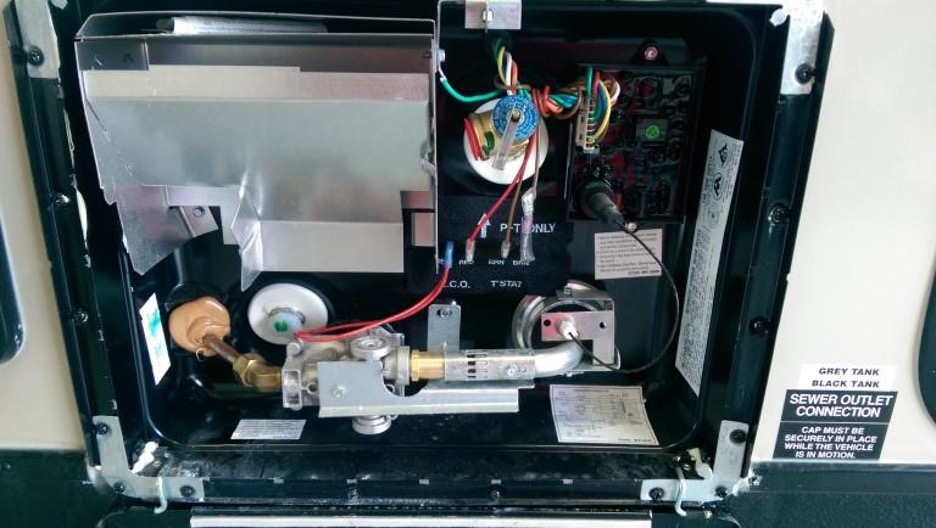
Step 2: Emptying the RV’s Hot Water Heater
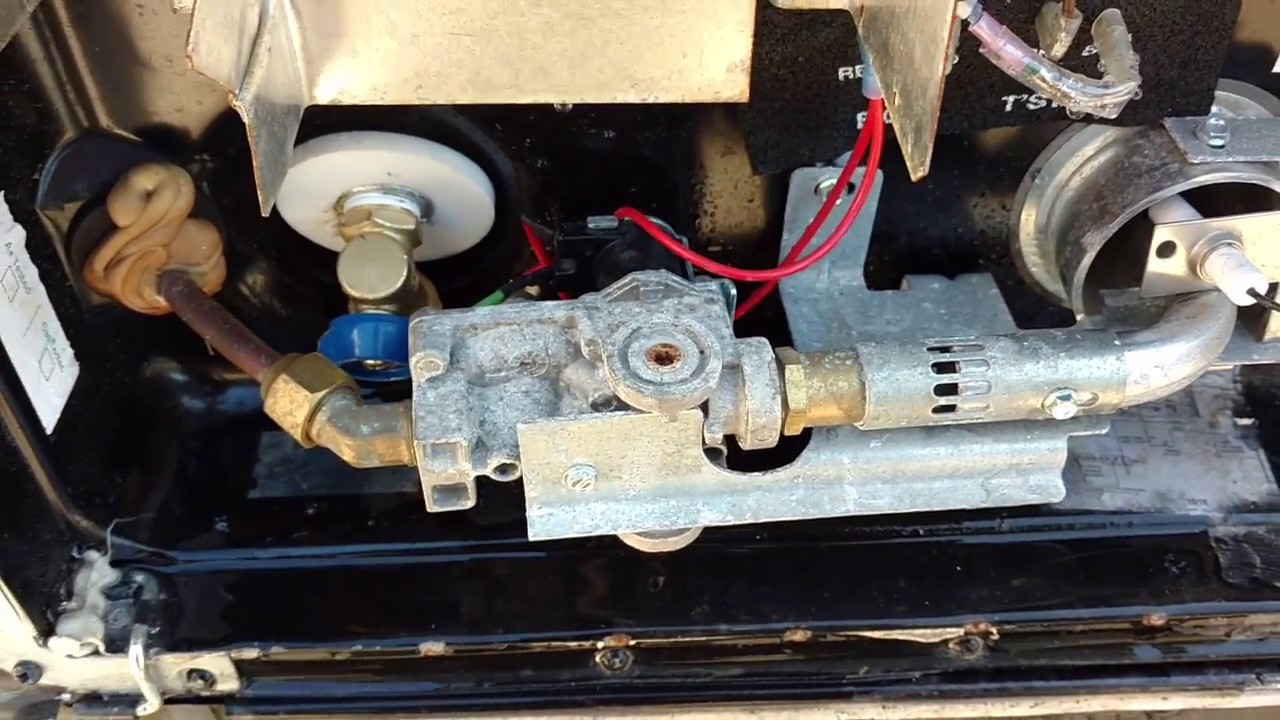
Once the hot water tank and the heating element get thoroughly cooled, empty the tank. For this step, disconnect all the water supply and turn on the warm water tap before emptying it. Now, open the pressure relief valve to empty the hot water. Further, remove the drain plug the warm water heater contains. Stay away from the RV.
You can check the functioning of the anode and even wash the warm water tank at this moment. Wrap a plumber’s tape on the drain plug and reinstall it once the water gets drained completely. If your camper has an inline water filter, remove it to drain the water.
Step 3: Emptying All Interior Lines
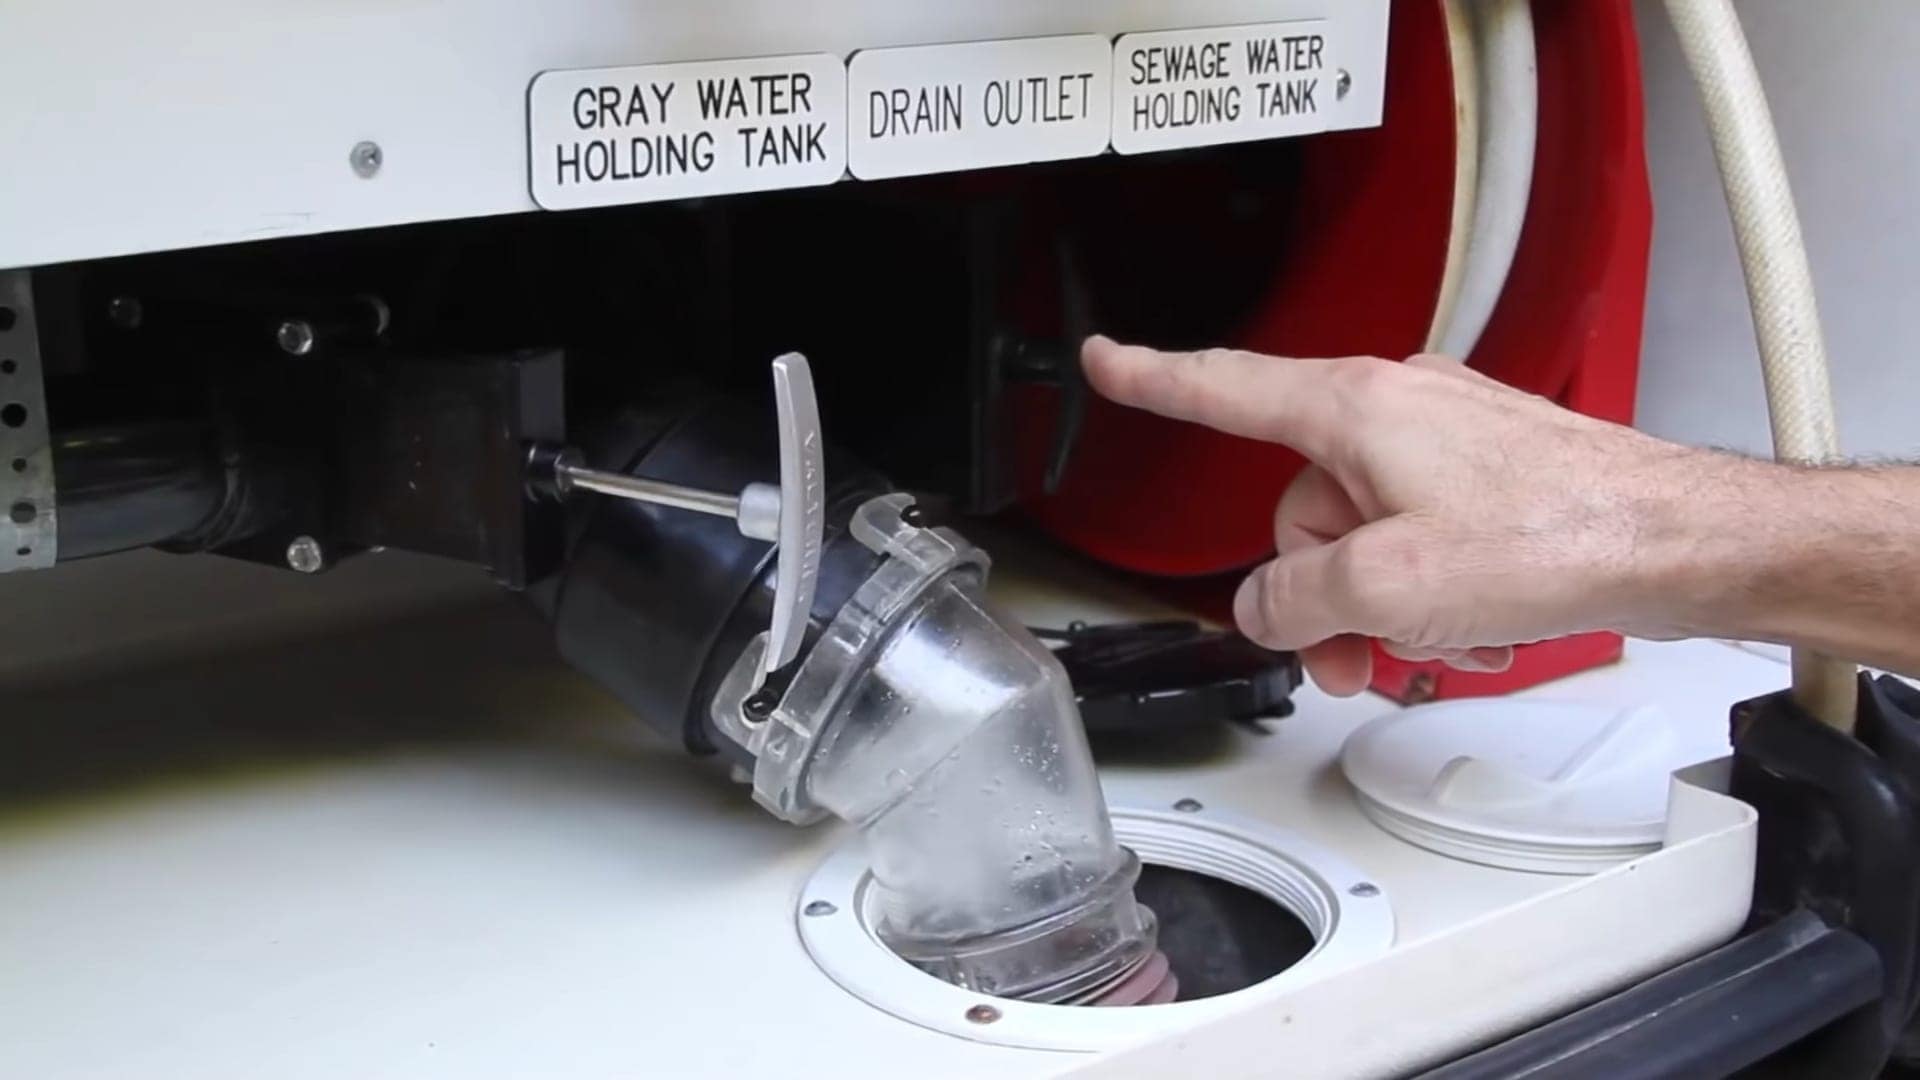
Turn on all the faucets, cold and hot, after checking that the dump valves of the gray tank are open. This will empty the interior lines. Don’t forget to consider the kitchen wand, toilet, and external shower. Next, identify and open all the low-point water drains.
Using a water pump forces out all the water left inside the lines. Once the camper’s water lines are completely empty, turn off all the valves on the gray tank, recap the drains and turn off the faucets. Also, disconnect it from the sewer.
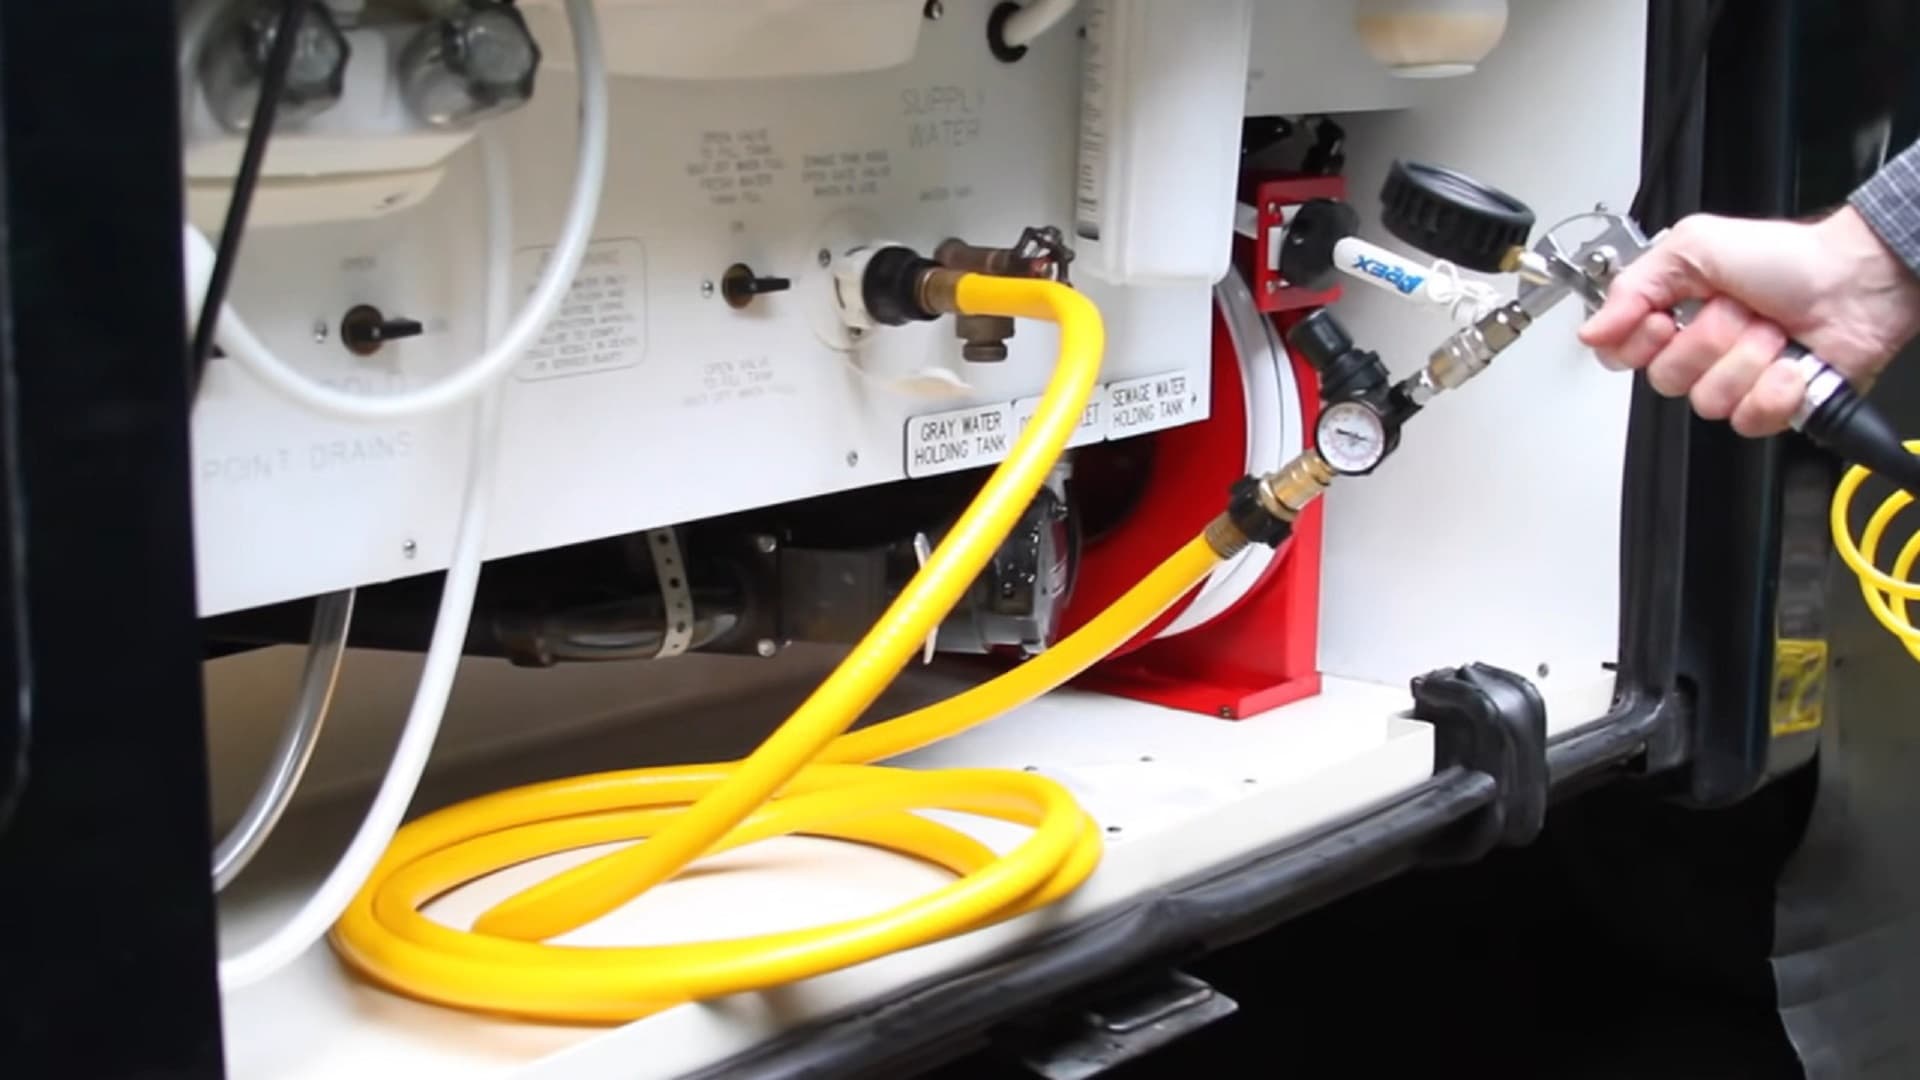
Step 4: Bypassing the Water Heater
Most campers include bypass kits installed; you can check the owner’s manual to find it for your RV. You will find a diagram that you can follow to get the kit. You may find it in the basement or near the rear water heater. Bypassing the camper’s water heater is crucial if you don’t want Antifreeze to accumulate in the tanks.
Step 5: Bypassing the Fresh Water Holding Tank
If your camper includes a preinstalled winterization valve, set it to a proper position for bypassing. You can check for the correct position in the manual. If your RV doesn’t have such a valve, you can use a water pump converter tool to get the job done.
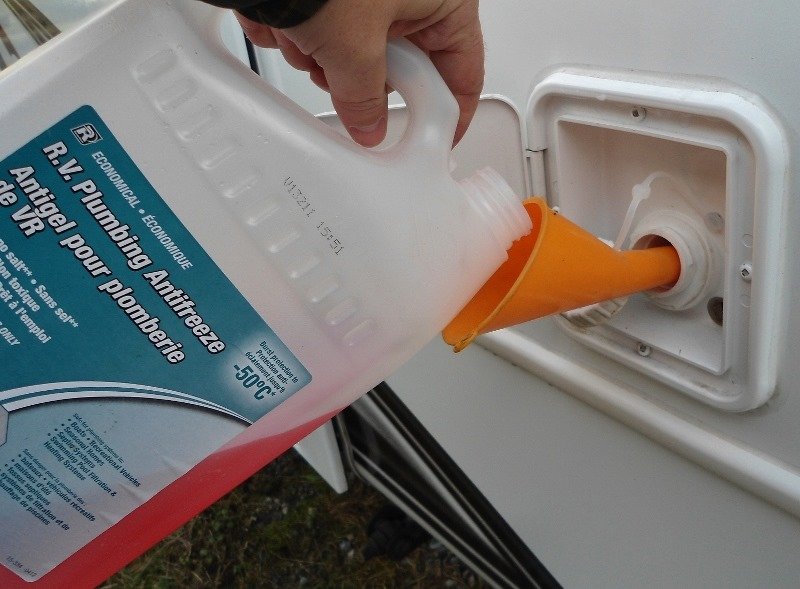
Step 6: Draining Water Lines Using Antifreeze
Once bypassing is done, you can switch the water pump on, forcing the system, and the Antifreeze will move into the pipes. When you turn on all the faucets, the Antifreeze will be pumped out. Repeat the same with the valves, including both hot and cold. When a pink-colored antifreeze comes out, close the valves.
Step 7: Pouring Antifreeze Into the Camper’s Drains
The last step is to put Antifreeze into every drain to protect and stop P-traps from freezing. Pour a few cups into the toilet bowl and flush it into the gray tank. It will prevent any leftover water from freezing. You can put one additional cup into the toilet bowl and leave it.
With all these seven steps done, your camper is ready to be stored for the winter season. This method is easy and quick.
Now let’s move on to another method of winterizing.
The Compressed Air Method
Step 1: Emptying the Camper’s Plumbing System
The first step in this method is similar to the antifreeze process.
Step 2: Emptying the RV’s Hot Water Heater
The process is again the same as Antifreeze; however, don’t put the drain plug back in the water heater this time.
Step 3: Blowing Out The RV’s Warm Water Pipes
Open the drain plug and turn off the warm water heater’s pressure relief valve. Now, connect the city water pipe to the air compressor hose assembly.
You can use a pressure regulator to prevent over-pressuring the water lines. Next, plug the air compressor and blow compressed air into the water pipes. Once the hot water lines are completely empty, you can change the drain plug. Lastly, unplug the water heater.
Step 4: Bypassing the Water Heater, and Filters
This step is similar to step 4 of the antifreeze method; however, don’t forget to detach and bypass the inline water filter, if any.
Step 5: Blowing Out the Water pipes
Open all the low-point drains and unplug the water pump. Now, open all the faucets to warm. Once all the water gets drained, turn off the drains and faucets. Next, open the individual hot and cold faucets and pump compressed air into the system.
Keep doing this until all the water escapes. You can take someone’s help in this step. To drain the water pump, turn on the shower snout and switch on the water pump. Keep it on until all the water gets drained, and then with compressed air, remove all the leftover water from the pipes.
Step 6: Putting Antifreeze Into the Drains
The last step is also similar to the last stage of the antifreeze method, i.e., pouring the Antifreeze into the drains to prevent any leftover water from freezing.
Wrapping Up
Winter season is around the corner, and if you haven’t yet started winterizing your RV, take it as a priority and do it as soon as possible. Moreover, now you know how to winterize a camper properly, so follow the steps to save yourself from the hassles of repairing in the camping season. Also, you might detect a few issues while winterizing your RV, so get it repaired immediately.