
Many American adventurers who enjoy spending their vacation time “roughing it” are drawn to the great outdoors. But there is no reason to forgo the home conveniences of hot showers and a clean bathroom when using a mobile van. Experiencing nature and exploring the woods while camping in an RV offers the best of both worlds without compromising on sanitation and hygiene.
However, your first course of action is often to call a plumber if your toilet at home isn’t flushing, or your sink develops a leak. But if you’re out in the wilderness, many hours from a big city, you could have to deal with your RV’s plumbing issues on your own.
This calls for you to have in-depth knowledge about your RV Water System.
Wastewater System vs. Potable Water System
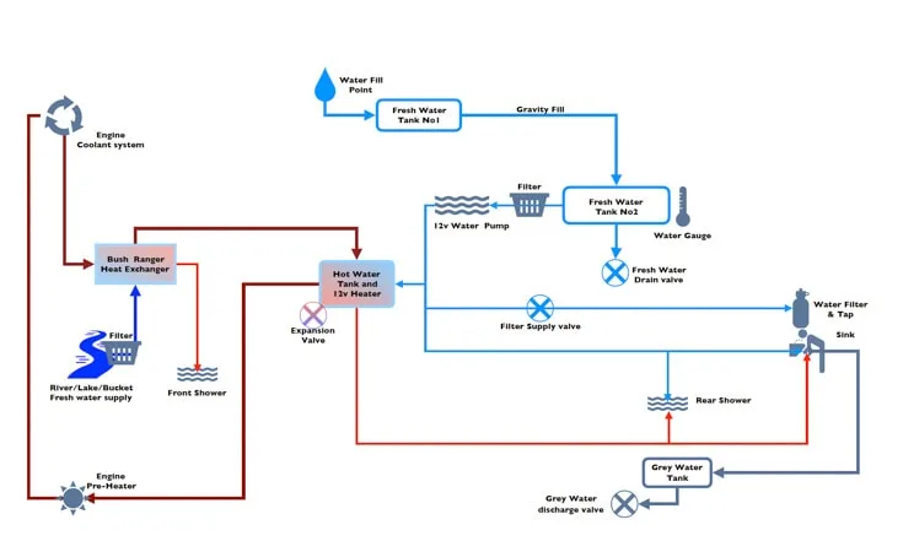
The first and most crucial thing to know is that your recreational vehicle has three holding tanks, not just one or two. Never combine or use any of these holding tanks improperly; each has a vital and distinct function.
System for Freshwater
Of course, you need a significant supply of running water in your RV van to cook, wash dishes, take showers, and flush toilets.
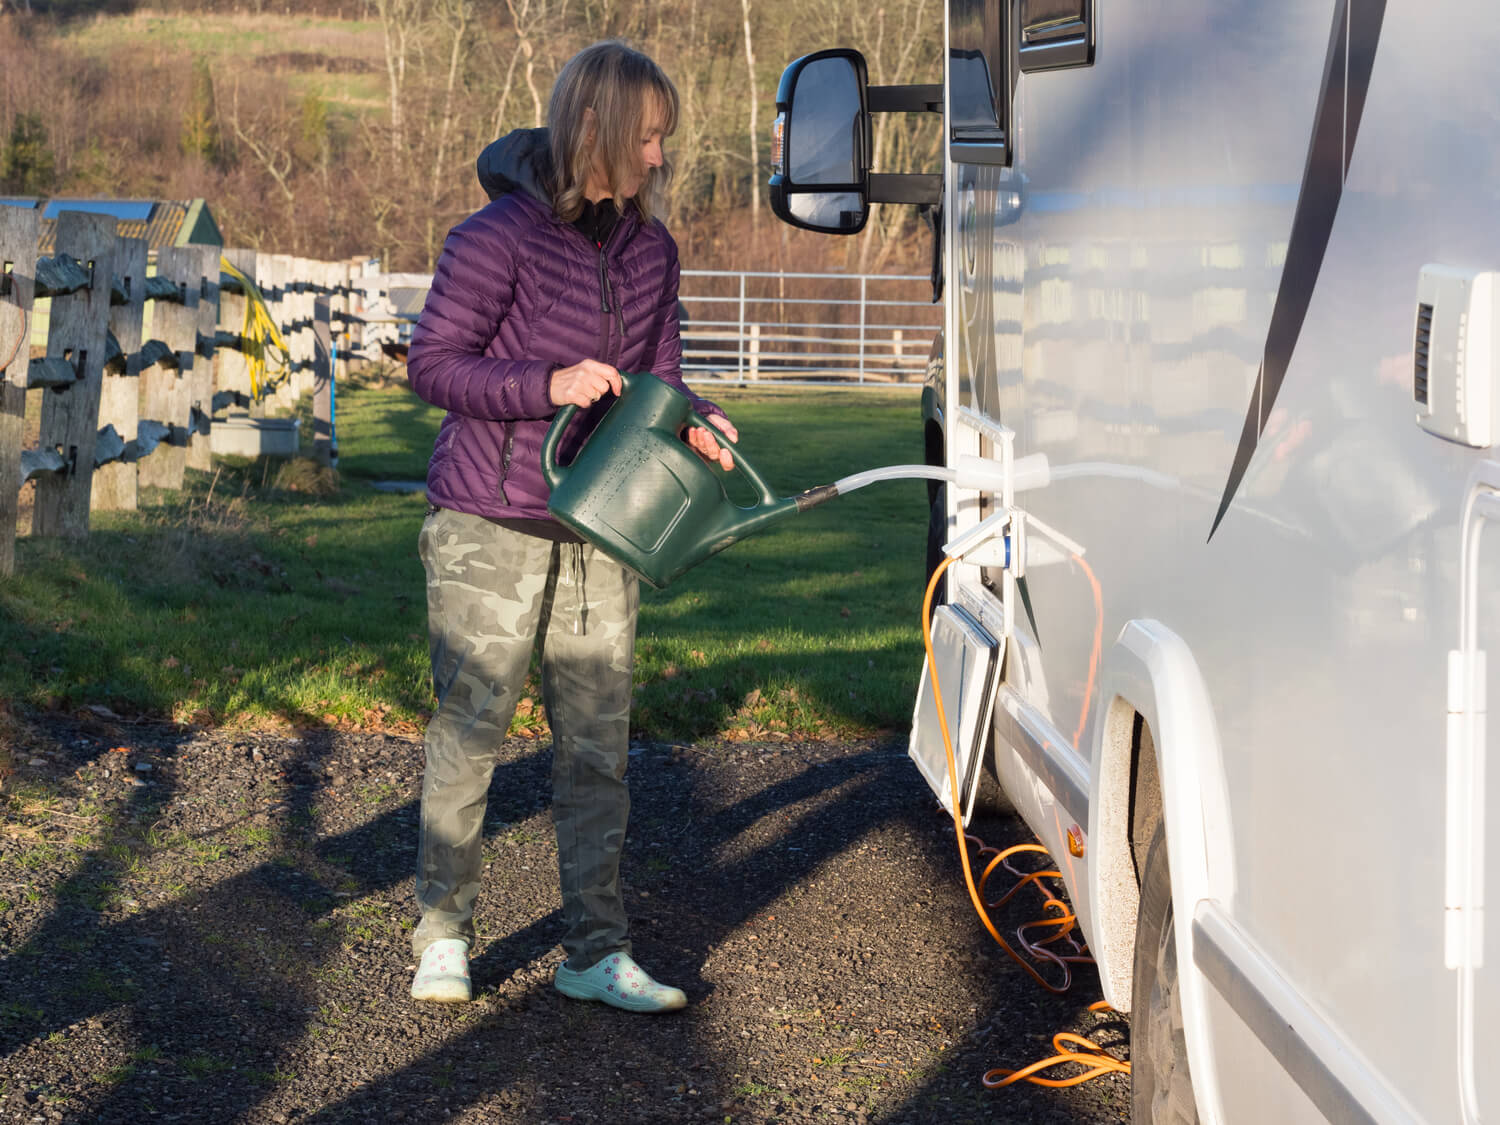
You might be surprised to learn that the fresh water tank in an RV can be as large as the petrol tank. The tank will typically hold between 20 and 100 gallons of fresh water because your plumbing system might consume a lot of water.
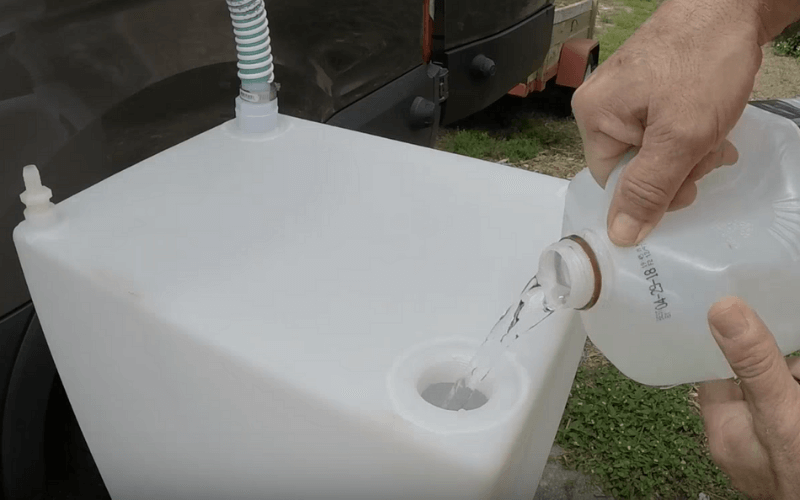
How To Fill the Fresh Water Tank
- City Fill: To use this intake, a hose must be attached to the public water supply. The water will be pumped through the plumbing system by the pressured connection. This constant pressure means that the RV’s water pump won’t be necessary.
- Gravity Fills: Although not present on every RV, gravity fills are frequent. The water pump in the RV will pump the water through the system once you pour it into the inlet.
System for Greywater
The majority of your interior plumbing fixtures, including sinks and showers, will flow into the grey water tank. Grey water is wastewater that doesn’t include bathroom sewage.
Your grey water may be dumped outside in some situations. However, make sure you fulfil each of the following requirements before disposing of your grey water on the ground:
- Surface water, such as lakes, rivers, and streams, as well as any underground drinking water sources, must be kept at a safe distance from you (wells or pipelines).
- The drainage area needs to be defrosted and permeable to permit seepage. Discharge must not be made onto frozen ground, pavement, or rocks.
- In your kitchen sink, you must have a grease trap that is the right size and is kept in good condition. Grease should never be disposed of in the ground.
System for Black Water
The only inside device that empties into the black water holding tank is your toilet. Because your toilet normally cycles more water and receives more frequent usage than other appliances, your black tank, also known as the septic tank, will likely be slightly bigger than the grey water tank.
Additionally, you must regularly empty your black water tank into the sewer system. Never empty your septic tank into the open air or even into a storm drain.
Important Parts of the RV Water System
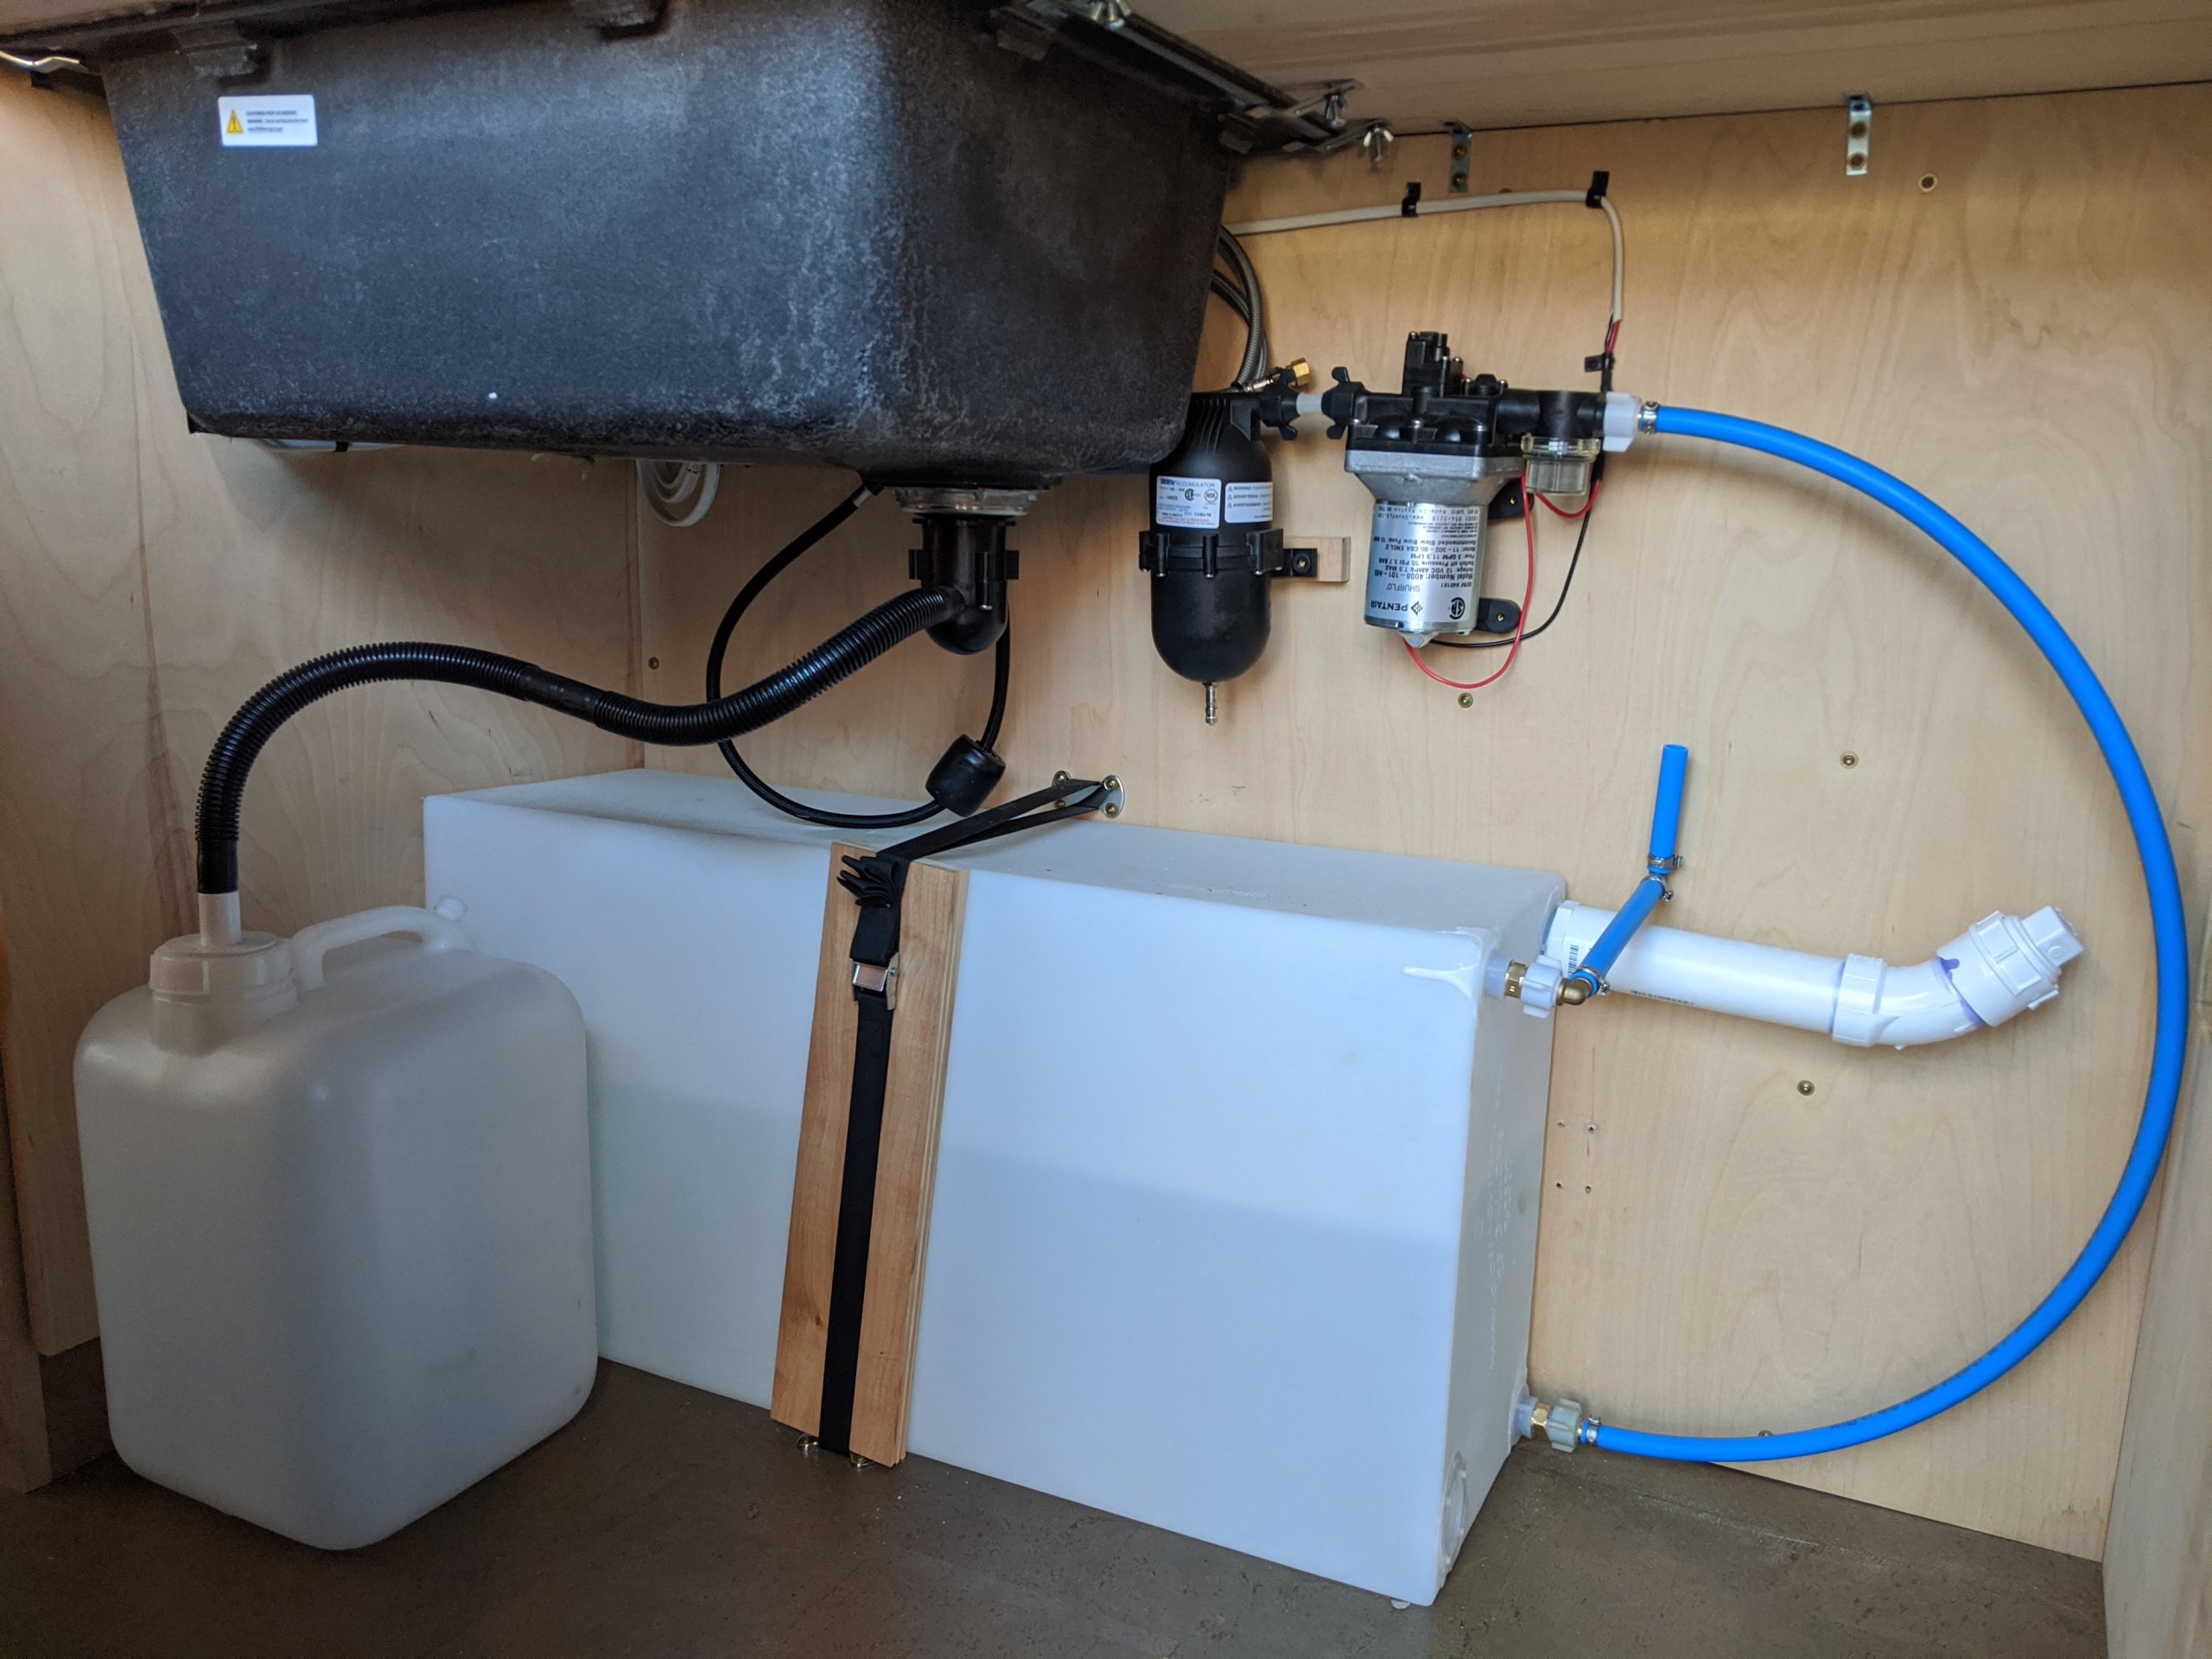
Water Pumps
If you look at the RV plumbing diagram from earlier, you may have noted that your RV needs a water pump to give fresh water to your sinks, shower, and toilet.
A competent plumbing system pump will provide 3 to 6 gallons per minute (GPM). Except for when you’re having a shower, you won’t need the increased flow rate, but you’ll certainly love it then.
Fittings
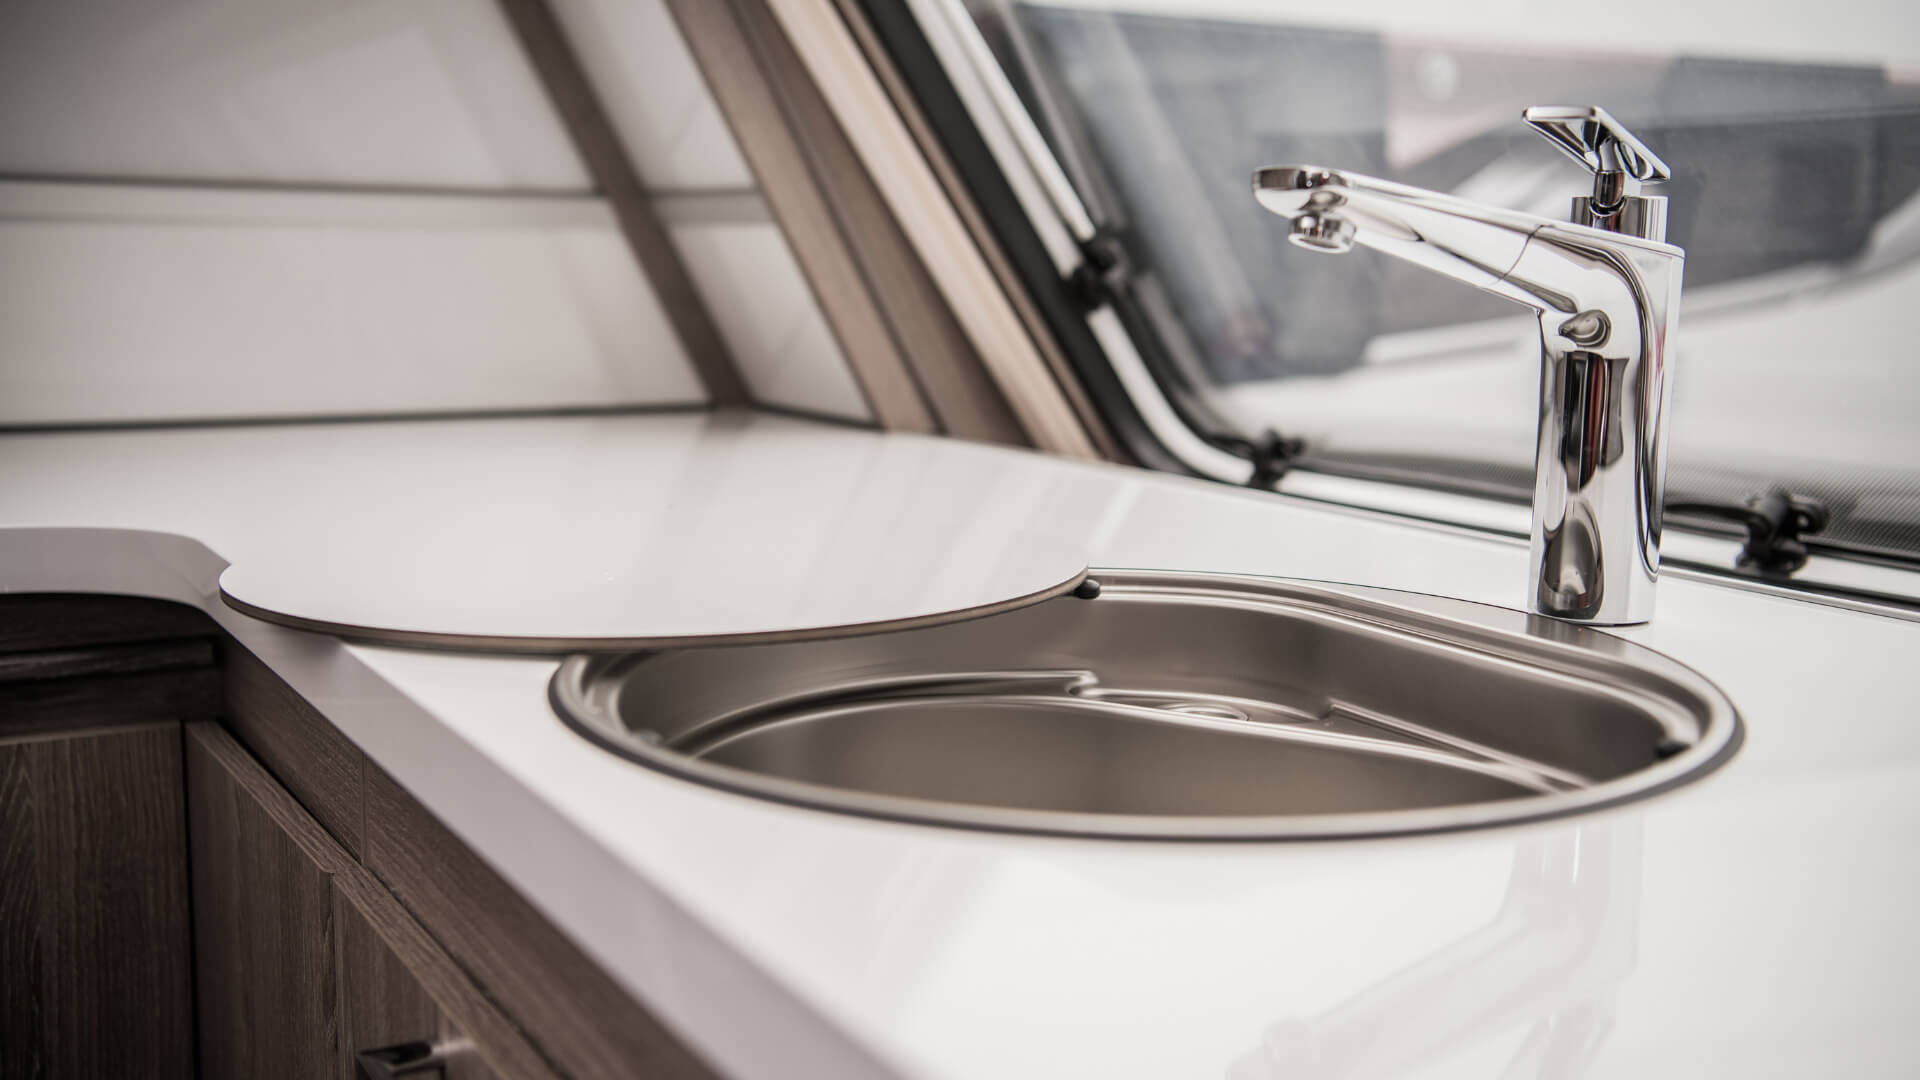
Four interior fixtures—a kitchen faucet, a bathroom faucet, a shower nozzle, and a toilet—will likely make up the plumbing system of your RV. You might also have a washer if your recreational vehicle is a large, luxurious one.
It’s always ecologically responsible to ensure that your RV’s plumbing fixtures are created to conserve water.
Bathroom Plumbing
There are a few distinctions between using an RV toilet and using your toilet at home.
There should always be water in the toilet bowl in your home. This is not the case with RV plumbing, though. Your RV toilet should be completely dry when not in use. Additionally, your toilet bowl seal may leak as a result of the jarring motion of travelling down highways and paved roads.
Accumulation Vessel
It’s a good idea to have an accumulator tank to safeguard your plumbing system from pressure fluctuations. The labour that your pump needs to do when you open and close the faucets on a sporadic basis is also decreased. These gadgets add the required pressure to the pipes using a pre-pressurized air bladder, preventing the water pump from having to restart. The additional pressure lessens the strain on the pump and increases its longevity.
Heaters
There are three techniques to heat cold water for use in showers, dishes, and other household chores. Which one you select simply depends on your preferences.
With an electric hot water heater, this is the first and most common scenario. Because your vehicle already has an electrical supply source, this type of heater is practical (the battery).The second method uses a hot water heater powered by liquid propane (LP). These aid in fast heating water without consuming priceless car battery juice.
Engine heat transfer is the third way to heat the water in your RV’s plumbing system. Because you don’t need additional battery power or propane to heat the water, this method is both inexpensive and energy efficient.
Sanitising the RV Water System
1. Make a Solution of Bleach
- With every 16 gallons of fresh tank water, use 1/4 cup of bleach.
- Mix at least 1 litre of water with the bleach.
- Adding bleach to the tank without first diluting it is NOT recommended!
2. Cleanse
- Fill the fresh tank with potable water before adding the bleach solution.
- For about a minute, run water through the entire system.
- Give it at least 4 hours to sit (overnight is preferable!).
3. Rinse
- Refill the fresh water tank with drinkable water after draining it.
- For a few minutes, run fresh water through the entire water system.
- Continue once more (drain, re-fill, circulate, drain).
Conclusion
Plumbing issues with your RV can be messy or odorous in addition to being bothersome. With a solid understanding of how each component functions, perhaps this article has given you the confidence you need to comprehend and repair your RV water system. We’ve discovered that practically any RV owner can benefit from even this basic knowledge when dealing with a plumbing issue.