
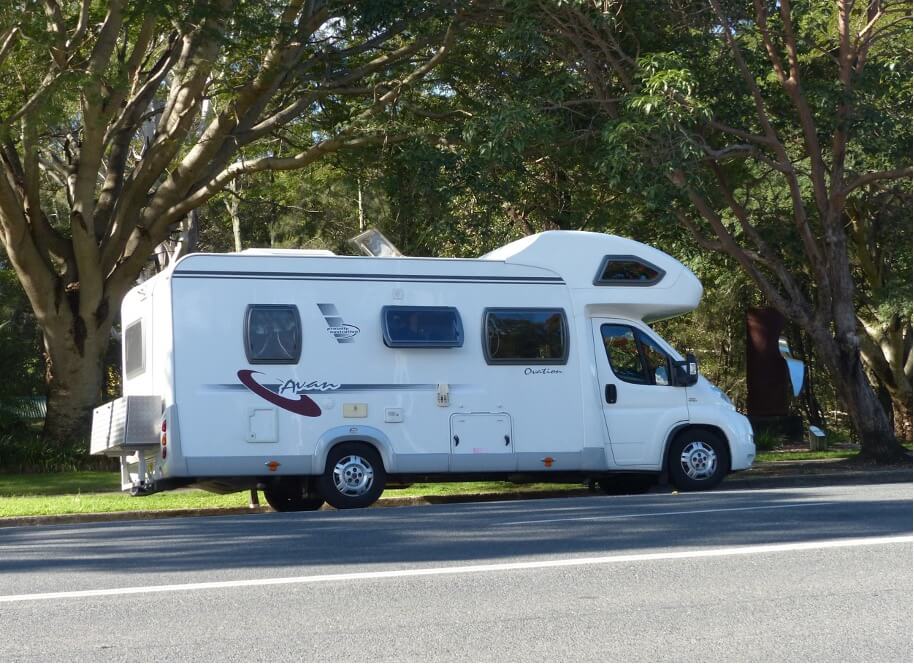
Spring is coming which means it’s time to get your RV out on the roads again. But first, you need to de-winterize your winterized RV. The task of de-winterizing your RV or camper can be overwhelming. But it will be worth it, once everything is done. After all, your beloved RV also needs some maintenance to get ready for the camping season.
If you are new to RVing, then this article will be your helping hand in explaining the process of de-winterizing your RV for the spring. Let us now tell you the steps on how to de-winterize your RV or Camper this spring.
The Exterior of your RV
Take your RV out of the storage place where you have kept it during winter. Remove any cover or sheet from your RV. Now start the process of thoroughly checking your RV’s exterior for any flaws.
Take a Good Look at the Tires
The most important step is to look at your tires and check for any damages. During RV storage, tires tend to lose about two to three psi of air pressure every month. If your RV was stored somewhere cold, then there are chances that the tires are more deflated when you take your RV out in spring. Driving your RV with under-deflated tires can cause uneven wear, blowout, poor handling, and worse, accidents on the road.
Check the air pressure of each tire including the spare one, with a tire pressure gauge. Reinflate the tires according to the manufacturer’s recommendation. While inspecting your tires, look for signs of wear like cracks in the sidewalls and worn-down treads. Purchase new tires if needed.
Inspect the Exterior
The next step is to inspect the exterior carefully. Visually inspect every corner of the exterior of your RV for any damages, leaks, and cracks. Look at the weather stripping around doors and windows. If required, replace any cracked or peeling sealant. Check all body, roof, and slide-out seams and apply new seals according to the needs.
If you have a towable Camper, look at the hitch components for rust and damage. Change any damaged parts to avoid an accident or getting stuck with a broken hitch on your camping trip.
If you stored your RV or Camper outside during winter, so look out for any water damage and pay special attention to the roof. Roofs can be prone to structural damage or may crack because of the heavy accumulation of snow. Always be extra careful when working on the roof for cleaning.
If You Have A Motorhome, Check Your Engine
While de-winterizing, taking a look at the engine of your motorhome is very important. Check the engine’s fluid levels of the following:
- Transmission
- Power steering
- Brake fluid
- Engine oil
- Engine coolant
- Window washer fluid
Check and Reinstall the Batteries
During cold, your RV’s battery loses some of its charges due to internal leakage. Make sure to check and recharge your battery periodically during the off-season. If you don’t then you will lose some percentage from your battery each month. By keeping your batteries charged during storage, you can extend the lifespan of your battery for many years and seasons to come.
Before your first trip, look at the battery of your RV and read it through the voltmeter. Make sure your battery is not connected to any electricity or else you will get a false reading. If your 12-volt battery reads below 12 volts, it needs to charge. Depending on the size of your battery, it may take a few hours or days to fully charge the battery of your RV.
After charging, check the water level in the battery and add distilled water to reach the correct level. Plates should always be covered, if not then add water before charging your battery.
When you reinstall the battery, make sure it is connected securely. If needed, you can contact an RV maintenance service to help you with battery installments.
Examine your RV Generator
If you have a generator in your RV, then check its oil level. If the oil levels are low, make sure to get it checked by professionals.
Before testing your generator, check the exhaust system for any damage. Because a damaged exhaust system can harm the generator and can cause danger. If you run your generator periodically during storage in winter, then it should start without any issues. When you don’t run the generator regularly during storage, the oil can sludge and the components of the system can be at risk of seizing. When you start it, make sure to give it a few minutes and put it under 50% load for half an hour.
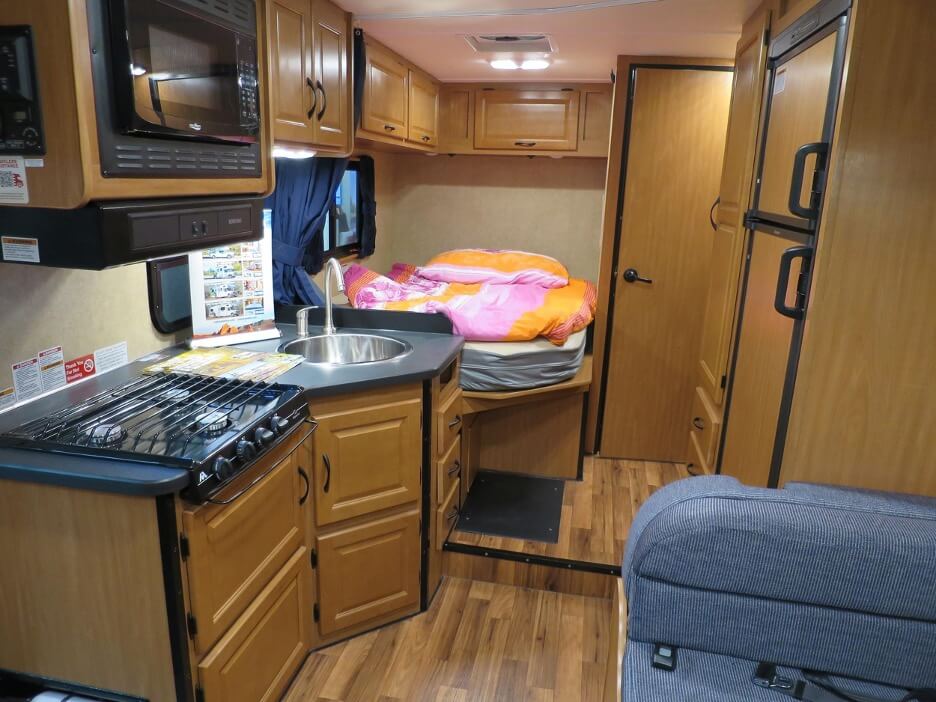
The Interior of your RV
After diligently inspecting the exteriors, you should move on to the interiors of your RV. Below are the steps on what to do for the interiors of your RV.
Flushing The Water System
It is one of the most important steps in de-winterizing your camper or RV this spring. Water is extremely necessary during trips on roads, where you need clean water for cooking, drinking, showering, and washing dishes. Keeping this in mind, when you winterized your RV in the fall you most probably would have added the non-toxic anti-freeze in your water system to prevent the freezing of pipes. This anti-freeze should now be flushed out of the plumbing system to ensure the clean quality of the water.
If you added the anti-freeze directly to the water holding tank, then the first step is to empty the tank by draining the water. Add potable water into the freshwater holding tank and then follow the below-mentioned points to flush the anti-freeze from your camper or RV:
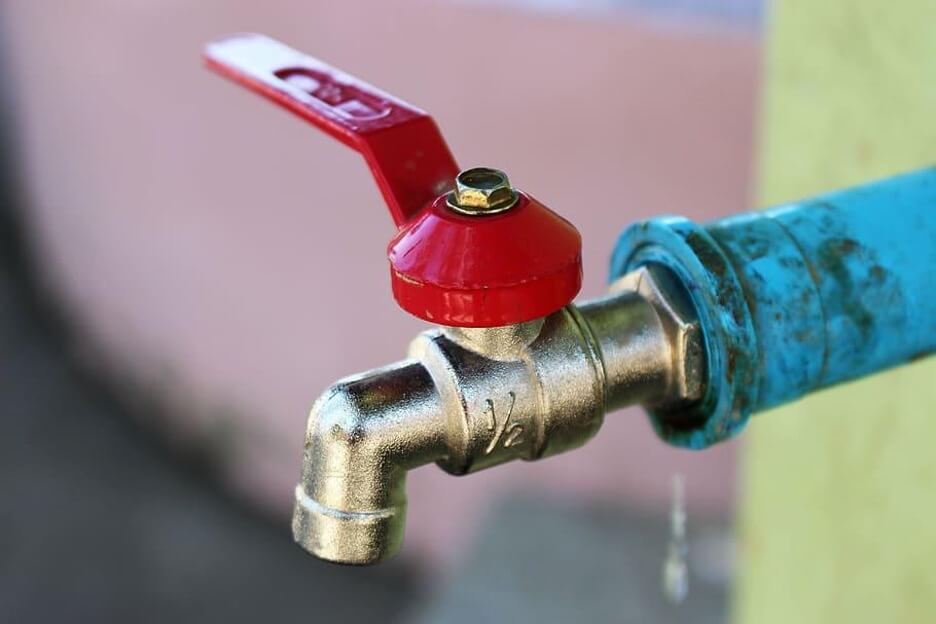
- Turn the water pump on.
- Make sure you open all the water faucets for example sinks, and indoor and outdoor showers.
- Allow the water to run through the system for a few minutes.
- While the pump is on, flush the toilet two or three times.
- When the water comes out clean and clear, close all the faucets and pump.
- Take the water heater out of the bypass mode.
- Replace the water filter cartridges that you removed for storage.
- Dump the gray and black water tanks at an official dump site.
If your water heater was not put into the bypass mode during the storage, then you need to drain the water heater tank and collect its disposal. Make sure to do this before replacing the water filters.
After your water system, if there is still a residual anti-freeze in the water, you can add baking soda to the water to remove the unpleasant flavor of the water. For making the water fresh and clean, you can just sprinkle some baking soda into each drain or pour it into the water holding tanks and drain it down. After a few minutes of doing this, your water should become clean.
Instead of using an RV pump, you can also use a garden hose or city water supply. Attach the hose to your water hook-up and follow the above-mentioned steps to get clean water.
Sanitize The Water System
After flushing the non-toxic anti-freeze, it is very crucial to sanitize your RV’s water system to ensure clean water for your trips. Even though you winterized it with a non-toxic component but the plumbing system needs to be sanitized to remove any particle that can lead to multiple bacterial problems. Here are the steps to sanitize your RV water system:
- Close all the drains and install drain plugs.
- Measure a one-quarter cup of household bleach for every 15 gallons your water tank holds.
- Pour the bleach into a one-gallon container and fill it up with water.
- Add the bleach and water mixture into the water tank.
- Fill the water tank with potable water.
- Turn on the water pump and open all the faucets.
- Run the water you can smell bleach and then close the faucets.
- Let the solution sit for twelve hours in the water tanks and lines.
- Drain all of the water from the system.
- Refill the water tank with potable water.
- Flush the system by turning on the water pump and opening all the faucets.
- Allow the water to run through it until you no longer smell the bleach in it.
When sanitizing, it is important to let the bleach sit for a few hours to effectively work its magic. However, don’t leave it for too long, as it will degrade the quality of your plumbing components. At last, a few hours or twelve hours but not more than that are good enough for sanitizing.
Check For Leaks In Pipes
When inspecting the interiors of your RV, make sure to check for leaky pipes in the RV. For checking the leaks ensure that there is fresh water in the water holding tank, then turn on the water pump and allow it to pressurize the water system. When the water system reaches full pressure, the pump should shut off. Listen for a few minutes, if the pump starts back on or does not shut off at all, then there is a leak somewhere in the water lines.
You can locate the leaks by checking the pipe system and looking at the leaks under the sink. Examine the toilet and its area around the edges for any leakage. Make sure to check carefully for any leaks as they can damage your water system. You can also take some services from professionals for this matter.
Change all the Filters
In your de-winterizing camper or RV, changing water and air filters would be a great step in preventing any bacteria from developing in your RV in long run. Changing air filters will stop any dust and debris from entering your RV. Changing water and air filters will also improve the efficiency of the system and save energy.
Make sure to purchase the correct size filters for air conditioners and water systems, so that it fits completely and functions efficiently.
Check Air Vents and Windows
Open all the air vents and windows and examine them properly. Ensure that there is no damage done during the winter storage. Check the weatherstripping over each one. if any is damaged then replace it. This step will guarantee fresh air in your RV or Camper during your springtime trips.

Reinstall Your Propane Tanks
If you use propane in your RV, then reinstall the propane tanks on their mounts and connect the hose. Make sure the hose is fitted tightly by turning on the propane valve a little to open the gas line. with the help of a sponge or spray bottle, apply soapy water to each of the hose connectors. Look out for any bubbles forming around it, this indicates that there may be a leak. Tighten the fitting and repeat the process to ensure that it is tightly connected and working.
If your RV has refillable propane tanks, take them to the propane station to get them filled. Some States require propane tanks to be recertified periodically. Make sure to check the tanks have not expired and get them recertified if needed.
Check Propane Appliances
After getting the propane tanks reinstalled, make sure to check each appliance that is LP-gas fired. Open the gas line and check for each appliance if it is working. if you get stuck during the examination, always get help from the RV maintenance service as these things can become dangerous if not handled appropriately.
Safety devices
Before heading out for trips, make sure your RV has all the important safety devices working properly without any damage. The safety devices are smoke alarms, carbon monoxide detectors, LP detectors, and fire extinguishers. You have to confirm the operating and updates of the devices.
Look at the expiration dates of the fire extinguishers, and if they are expired, replace them. Install new batteries in your battery-operated devices. Check your smoke alarm and its sound. A quick inspection of all the safety devices will ensure carefree and fun camping trips.
Testing of 120-Volt Appliances
The last step in de-winterizing of your RV or camper is to plug in your rig and test the 120-Volt appliances. Make sure that you use sufficient energy sources ranging from 30 to 50 amps. This will ensure that your microwave and air conditioner will run properly.
Other Things To Keep in Check
We are done with the major part of de-winterizing the RV or Camper for the spring. However, only a few things are left to keep in check to ensure an adventurous camping trip this season.
Restock your First Aid and Emergency Supplies
Restocking your first aid and emergency supplies before getting ready for the spring season is a very smart decision. Make sure that you check the expiration dates on first aid and all the medication. Replace and restock the ones that are expired. Be sure to restock the bottled water in case of an emergency. The emergency kit should also include tools for RV emergency repairs like hoses, pliers, hammers, batteries, and extra oil and coolant.
Update Registration and Insurance
Now that your RV has been de-winterized for springtime. You should also update your RV’s or Camper’s registration and insurance for a happy road trip. Store all the important documents at the place in your RV where it is accessible anytime.
Now your Camper has been de-winterized. Make your camper squeaky clean. And start to plan your camping trips this season. Have Fun!